Apply Policy for Switches
To apply the security policy, you need to:
Create the policy and generate ACLs for loading onto the switch.
Load the generated ACLs onto the switch.
Inform the PCE that the ACLs have been loaded onto the switch.
Create Security Policy
In the PCE web console, create label-based policies for the workloads that are bound to the switch ports. For information on how to create policies, see the Security Policy Guide.
Note
Make sure you provision the policies before generating the ACLs.
Generate and Download ACLs
After you have created new policies for the NEN-managed workloads and provisioned them in the PCE, you can generate the ACLs. The PCE writes those ACLs to its local files.
Create the associated switch ACLs as follows:
Log into the PCE web console.
From the PCE web console menu, choose Infrastructure > Switches.
Select the switch.
On the Switches page, click Generate ACLs. It takes a moment for the ACL generation to complete.
After the ACLs have been generated, click Download ACLs to download a .txt file of the updated ACLs from your web browser.
Go to the Downloads folder on your computer and open the .txt file. This file contains a list of inbound and outbound ACLs.

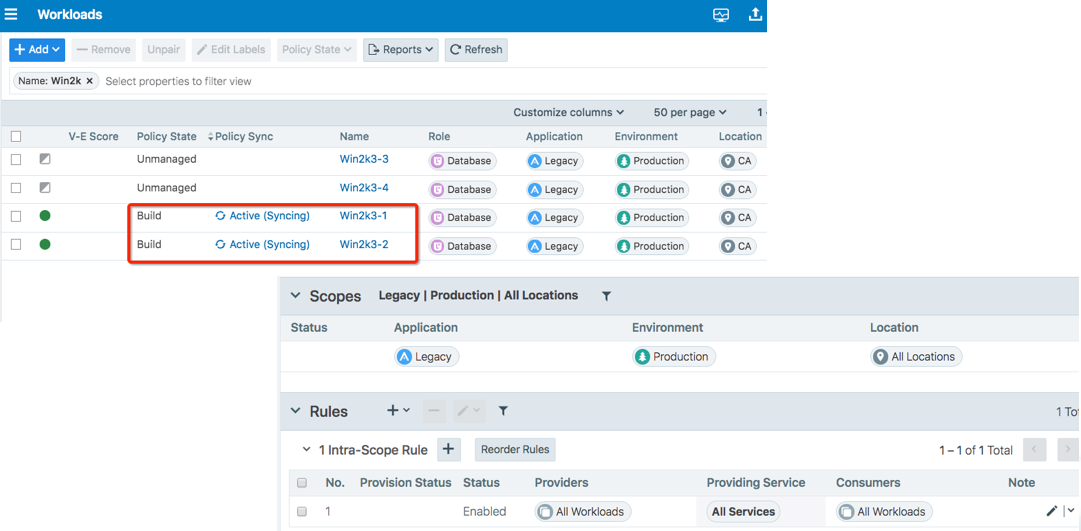
The workloads associated with the switch remain in an Active (Syncing) policy sync state until you click the Mark Applied button on the Switches page.
Note
You might see a “Syncing” notification appear in the PCE web console until you mark the ACLs as Applied.
Apply ACLs on the Switch
After generating the ACLs from the NEN, you can copy the text of the ACLs from the PCE-generated files and paste them into the switch's command line to configure the ACLs on the switch. Each interface per direction requires a separate text file.
Example of Inbound and Outbound ACLs
The following ACLs are generated for only Ethernet 1/7 interface of a Cisco Nexus 9000:
no ip access-list ILLUMIO_ACLS-Eth1-7-Inbound
ip access-list ILLUMIO_ACLS-Eth1-7-Inbound
!---Inbound ACL Rules ---
permit tcp any any established
permit udp any eq 68 any eq 67
permit udp any range 1024 65535 any eq 53
exit


no ip access-list ILLUMIO_ACLS-Eth1-7-Outbound
ip access-list ILLUMIO_ACLS-Eth1-7-Outbound
!---Outbound ACL Rules ---
permit tcp host 10.6.4.94 host 10.0.17.17 eq 5432
permit tcp any any established
permit udp any eq 67 any eq 68
permit udp any eq 53 any range 1024 65535
exit
Note
By default, the NEN generates ACLs to allow basic infrastructure services such as DHCP and DNS from all IP addresses in addition to the policies defined on the PCE. You cannot prevent DNS and DHCP ACLs from being generated by the NEN. If your network administrator does not want DHCP or DNS rules added to the switch, you can remove those ACL lines while copying the ACLs over to the switch.
To configure the ACLs on to the switch, the network administrator must log into the Cisco Nexus 9000 command line and go into configuration mode. Once in configuration mode, the ACLs can be copied from the NEN in to the switch command line as shown in this example:
nexus9000# conf
Enter configuration commands, one per line. End with CNTL/Z.
nexus9000(config)# no ip access-list ILLUMIO_ACLS-Eth1-7-Inbound
nexus9000(config)# ip access-list ILLUMIO_ACLS-Eth1-7-Inbound
nexus9000(config-acl)# !---Inbound ACL Rules ---
nexus9000(config-acl)# permit icmp host 10.0.17.17 0.0.0.0/0
nexus9000(config-acl)# permit tcp any any established
nexus9000(config-acl)# permit udp any eq 68 any eq 67
nexus9000(config-acl)# permit udp any range 1024 65535 any eq 53
nexus9000(config-acl)# exit
nexus9000(config)#
nexus9000(config)#
nexus9000(config)#
nexus9000(config)# no ip access-list ILLUMIO_ACLS-Eth1-7-Outbound
nexus9000(config)# ip access-list ILLUMIO_ACLS-Eth1-7-Outbound
nexus9000(config-acl)# !---Outbound ACL Rules ---
nexus9000(config-acl)# permit tcp host 10.6.4.94 host 10.0.17.17 eq 5432
nexus9000(config-acl)# permit tcp 0.0.0.0/0 host 10.0.17.17 eq 22
nexus9000(config-acl)# permit tcp any any established
nexus9000(config-acl)# permit udp any eq 67 any eq 68
nexus9000(config-acl)# permit udp any eq 53 any range 1024 65535
nexus9000(config-acl)# exit
After the ACLs have been added to the switch, they must be applied to an interface on the switch as either a PACL or a RACL. To take advantage of both inbound and outbound ACLs, this example uses RACLs. If the workload is directly attached to a Layer 2 interface (switchport mode access), you must apply the RACL to the VLAN/SVI interface. If the workload is directly attached to a Layer 3 interface (no switchport), the ACL can be directly applied to the physical interface (or port).
Optional Command to Verify the Interface Configuration
# show run interface ethernet x/y
Example of Command Usage for Ethernet 1/7
nexus9000(config)# show run int eth1/7

!Command: show running-config interface Ethernet1/7
!Time: Tue Oct 16 17:32:52 2018

version 7.0(3)I5(1)

interface Ethernet1/7
switchport
switchport access vlan 17
no shutdown
This interface is a Layer 2 interface and is part of VLAN 17. You must apply this to VLAN 17 interface (SVI).
Note
For L2 interfaces, the VLAN must have a Switch Virtual Interface (SVI).
nexus9000(config)# interface vlan 17
nexus9000(config-if)# ip access-group ILLUMIO_ACLS-Eth1-7-Inbound in
nexus9000(config-if)# ip access-group ILLUMIO_ACLS-Eth1-7-Outbound out
Result: The ACLs are now configured on the switch and any communication through VLAN 17 will be denied if it is not permitted in the ACLs.
Mark ACLs as Applied
You have to inform the PCE after you have loaded the ACLs because the NEN service does not configure the generated ACLs on the switch.
Log into the PCE web console.
From the PCE web console menu, choose Infrastructure > Switches.
Select the switch.
On the Switch page, click Mark Applied.