Azure AD Single Sign-on
This topic describes how to configure Azure Active Directory (AD) to provide SSO authentication to the Illumio PCE.
Tip
Because you'll configure settings in both the Illumio PCE Web Console and in Azure AD, have both applications open in adjacent browser tabs.
Prerequisites
To perform this configuration, you need the following:
An Azure AD subscription. If you don't have a subscription, you can get a free account.
An Illumio single sign-on (SSO) enabled subscription.
STEP 1: Obtain URLs from the Illumio PCE Web Console
In this step you'll copy and preserve URLs from the Illumio PCE for use in Step 2.
Log in to the PCE as a Global Organization Owner.
Go to Access Management > Authentication.
On the SAML tile, click Configure.
Copy and preserve the following URLs needed to complete the Azure configuration in a later step:
Tip
Make sure to replace the x's in the URLs below with the actual values from your implementation.
Issuer: https://PCE.xxxx:8443/login
NameID Format: urn:oasis:names:tc:SAML:1.1:nameid-format:emailAddress
Assertion Source URL: https://PCE.xxxx:8443/login/acs/xxxxxxxx-xxxx-xxxx-xxxx-xxxxxxxxxxxx
Logout URL: https://pce.xxxx:8443/login/logout/xxxxxxxx-xxxx-xxxx-xxxx-xxxxxxxxxxxx
STEP 2: Configure SSO settings in Azure AD
Note
Only an Azure Application Administrator can configure Azure AD.
In a different browser tab, log in to Azure AD as an Application Administrator.
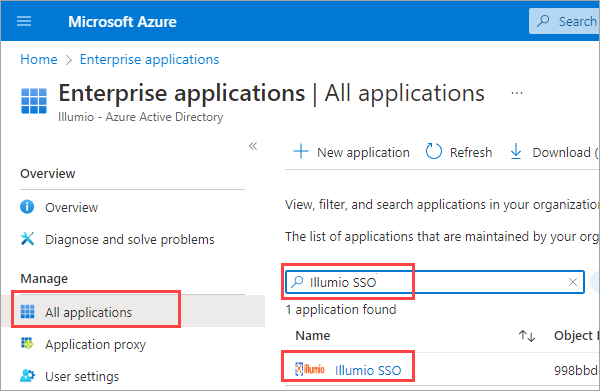
Go to Enterprise applications > All applications.
Search for the Illumio SSO app and then click the app.
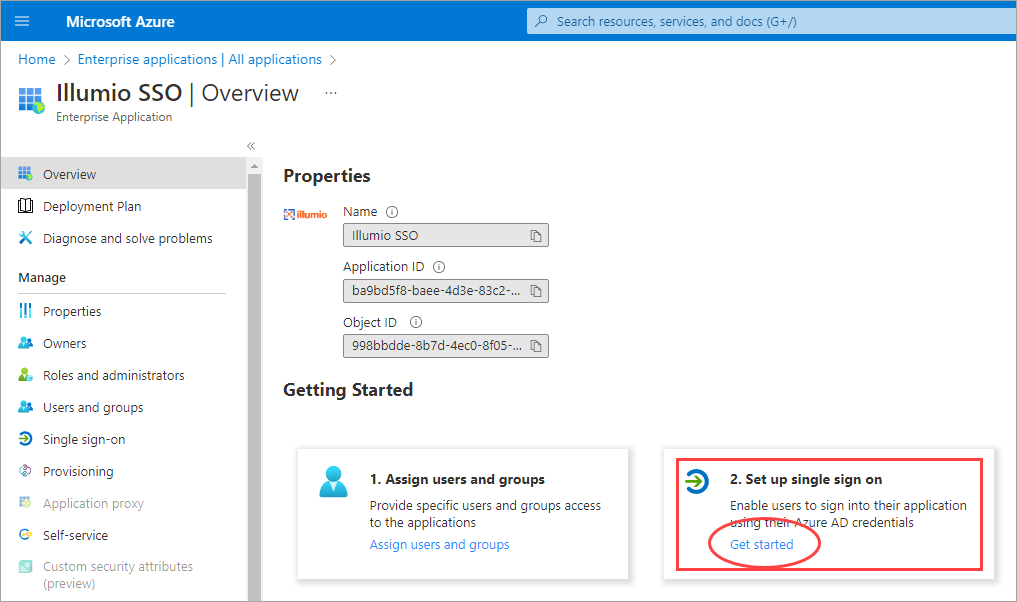
In the center of the page under Getting Started, click Get started on the Set up single sign on tile.
If prompted to select a single sign-on method, click SAML.
Configure Basic SAML:
On the Set up Single-Sign On with SAML page Basic SAML Configuration tile, click Edit.
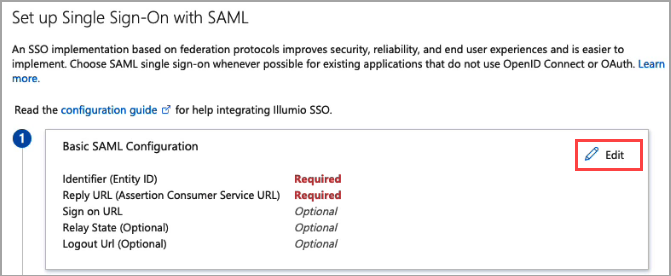
On the Basic SAML Configuration panel that opens, populate the fields with the values you copied and preserved.
In the Identifier (Entity ID) field, paste the Issuer URL you copied from the Illumio PCE.
In the Reply URL (Assertion source Service URL field, click Add reply URL and then paste the Assertion Source URL you copied from the Illumio PCE. Note: Your Reply URL must have a subdomain such as www, wd2, wd3, wd3-impl, wd5, wd5-impl. For example, http://www.myIllumio.com will work but http://myIllumio.com won't.
Click Save and close the Basic SAML Configuration panel.
Click Edit on the Attributes & Claims tile.
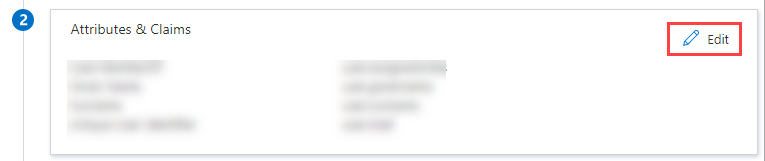
Under Required claim, update the Claim name:
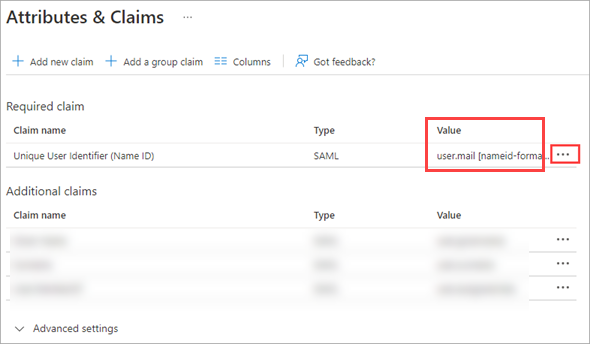
Click the three dots.
On the Manage claim page, click in the Source attribute field and select user.mail from the dropdown.
Click Save.
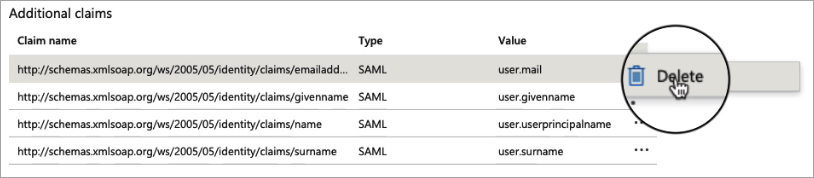
Back on the Attributes & Claims page, delete all of the existing claims in the Additional claims section by clicking the three dots for each one and then clicking Delete.
Click Add new claim and add three new claims:
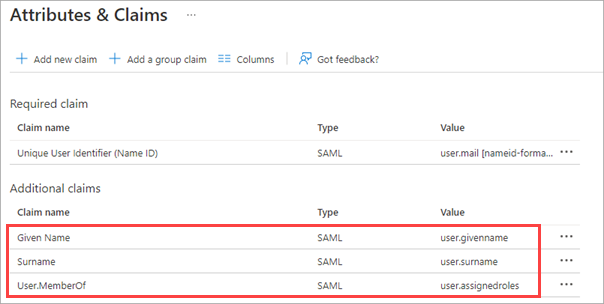
Given Name
Surname
User.MemberOf
STEP 3: Obtain SAML certificate and URLs from Azure AD
In this step, you'll download a certificate and copy two URLs that you'll later paste into the Illumio PCE SAML setup.
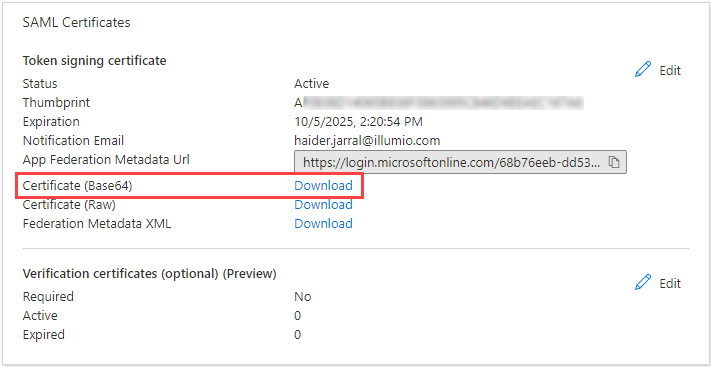
On the SAML Certificates tile, click Download for the Certificate (Base64) certificate and save the certificate to your computer.
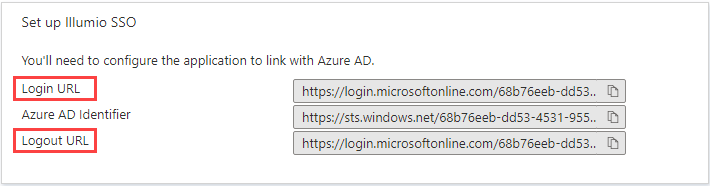
On the Set up Illumio SSO tile, copy and preserve the following URLs that you'll later paste into the Illumio PCE SAML setup.
STEP 4: Configure SAML SSO settings in the Illumio PCE
In this procedure you'll paste the following information that you copied and preserved from Azure:
Certificate (Base64)
Azure Login URL
Logout URL
In the Illumio PCE Web Console, go to Access Management > Authentication.
On the SAML tile, click Configure.
Click Edit.
In the Information from Identity Destination section, enter the following information that you obtained from Azure AD:
SAML Identity Destination Certificate: Open the certificate that you downloaded and then copy and paste the contents.
Remote Login URL: Paste the Login URL you copied from Azure AD.
Logout Landing URL: Paste the Logout URL you copied from Azure AD.
In the Information for Identity Destination section:
Choose an authentication method:
Unspecified uses the IdP default authentication mechanism.
Password Protected Transport requires the user to log in with a password in a protected session.
If you want to require users to re-enter login credentials to access Illumio (even if the session is still valid), select Force Re-authentication. This allows users to log in to the PCE using login credentials different from their default computer login credentials.
Click Save.
STEP 5: Create App Roles in Azure AD
In this step you'll create app roles in Azure AD that you'll map to roles in the Illumio PCE Web Console.
For reference in this step, here's a list of the Global Roles available in the PCE Web Console:
Global Organization Owner
Global Administrator
Global Viewer
Globally Policy Object Provisioner
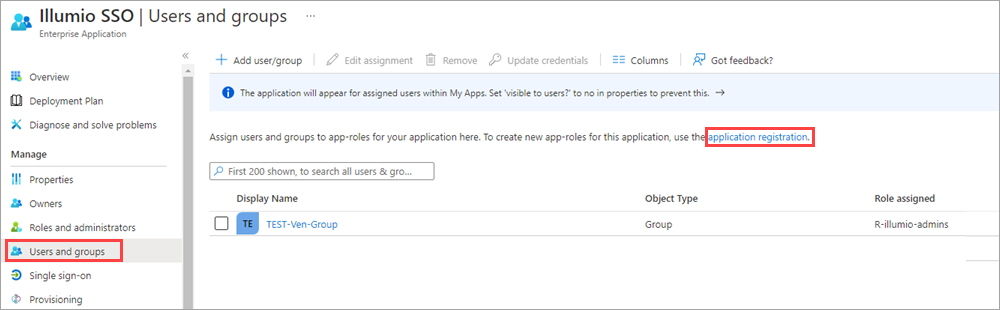
In Azure AD, go to Users and Groups and then click application registration.
Create the roles you want by clicking + Create app role and entering the required information for each role:
Display name: For example, enter one of the Global Roles that appear in the PCE Web Console.
Value : This must match the name you'll enter in the Add External Groups dialog box.
Description: The description will appear as help text in the app assignment and consent experiences.
Click Apply for each role that you create.
Delete the default app role called msiam_access.
Note
You need to disable the default app role before you can delete it.
Click msiam_access to open the Edit app role panel.
Deselect Do you want to enable the app role?
Click Apply. The side panel closes.
Click msiam_access again to to open the Edit app role panel again.
Click Delete.
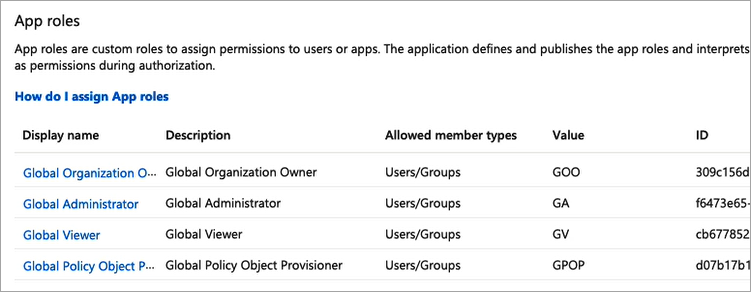
When you're done creating roles in Azure AD, the App roles section should look similar to this:
STEP 6: Assign users and groups to app roles in Azure AD
In this step, you'll assign users and groups to the app roles you created.
In Azure AD, go to Users and groups.
Select the Illumio SSO app.
Click Remove to remove the current app assignments.
Click Yes to confirm removal.
Click Add user/group.
On the Add Assignment page, assign desired role(s) to users or groups:
Under Users and groups, click None Selected.
In the User and groups panel that opens, search for your desired user/group, click to select it, and then click Select at the bottom of the panel.
Back on the Add Assignment page, under Select a role*, click None Selected.
In the Select a role panel that opens, find and click the role you want to assign, and then click Select at the bottom of the panel.
Back on the Add Assignment page, click Assign at the bottom of the page.
Repeat these sub-steps for each user and/or to which you want to assign app roles.
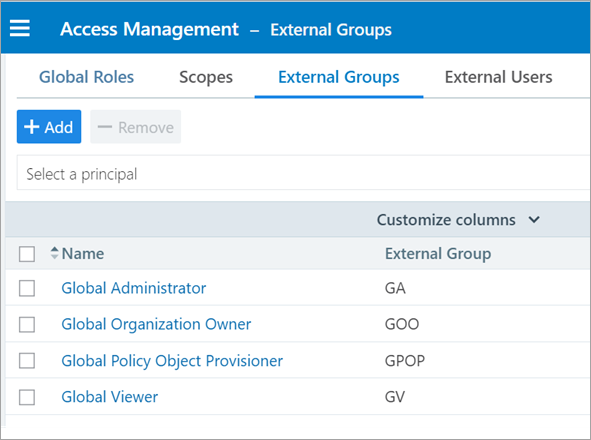
STEP 7: Add External Groups and assign roles in the PCE Web Console
In this step, you'll add external groups in the PCE Web Console and assign them the relevant global or scoped roles in Illumio RBAC.
Tip
Alternatively, you can add individual users by going to the External Users tab and following the onscreen prompts.
On the PCE Web Console, go to Access Management > External Groups.
Click Add.
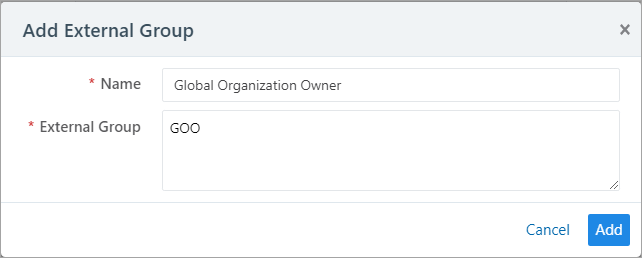
In the Add External Group dialog box:
Enter a Name.
Enter an External Group.
Important
This must match the Value that you specified for the app role.
Click Add.
Repeat for additional groups.
Click to open a group you created in the above step.
Click Add Role > Add Global Role or Add Scoped Role.
In the Access Wizard, select the appropriate Role and then click Grant Access.
Repeat for additional groups.

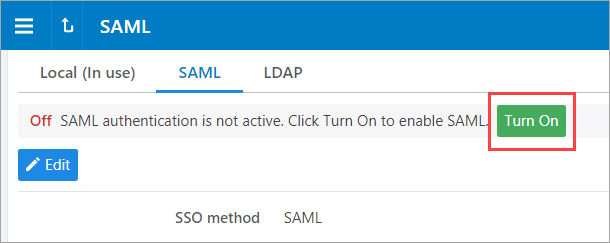
STEP 8: Turn on SAML authentication in the PCE Web Console
In the PCE Web Console, go to Access Management > Authentication.
On the SAML tile, click Configure.
On the SAML page, click Turn On and then click Confirm.
STEP 9: Test SSO
Perform this procedure to test the SSO authentication you configured in the previous steps.
In Azure AD, go to Single sign-on.
Click Test this application.
In the panel that opens, select a way to sign in and then click Test sign in.
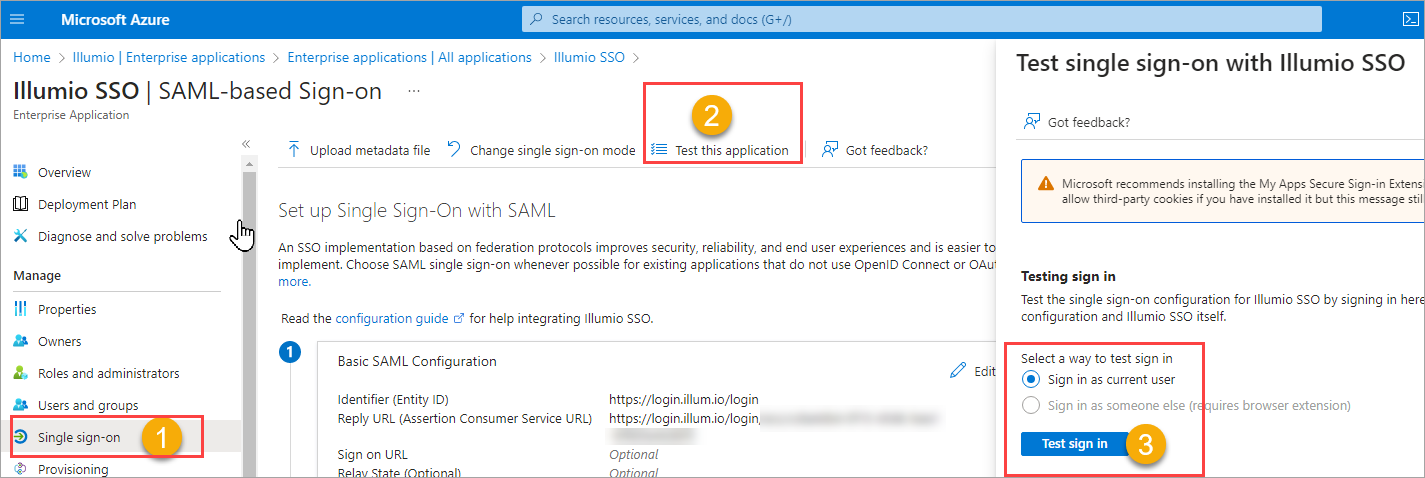
If the test is successful, the PCE will log you in to the Welcome to Illumio screen.