Add Application Ringfence Rule Lesson
In this lesson, you will learn about creating rules to ringfence an application by using the feature to add an application ringfence rule by using the Illumio visualization tools.
Lesson prerequisites
This lesson requires you to have the following data, access, and systems.
5 to 20 workloads: These workloads run and are paired with the PCE.
Fully-labeled workloads: The workloads have all four labels assigned to them.
Active connections on the workloads: The hosts need to have running applications that are generating traffic data.
Instructions
Using the Illumination Plus Map view, you can quickly create a ringfencing rule by adding that rule to a new ruleset within the scope of the selected group.
In the left-hand menu, select the Map view.
Verify by which criteria the group has been established.
Look at Group By selection and apply any changes that you might need.
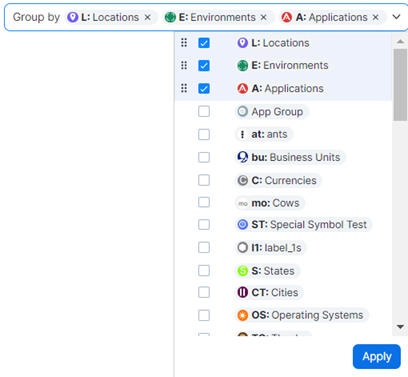
Keep the current selection (Locations, Environments, Applications), or add or remove the grouping criteria.
Once you have the desired selection, click Apply.
The group is now established according to your needs.
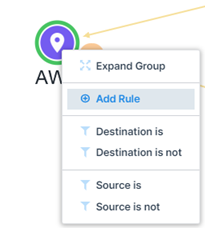
Now, put the cursor over the group that you want to change (here it is, AWS).
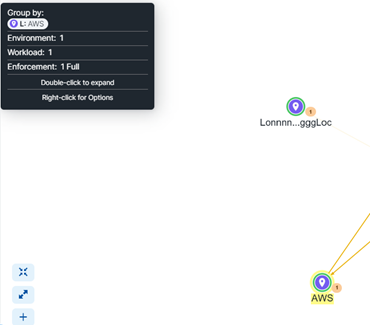
The pop-up dialog on the left shows the selected group’s stats.
You can also click on the group to see its stats that show in the right-hand panel.
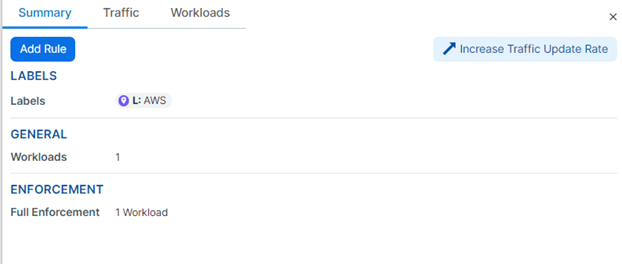
Now click on the group where you are adding the rule and then on Add Rule.
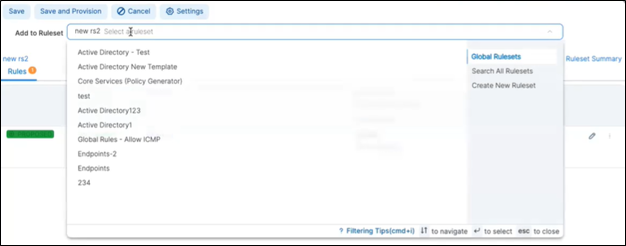
Choose which ruleset you are adding the new rule to, for example, the ruleset named new rs2.
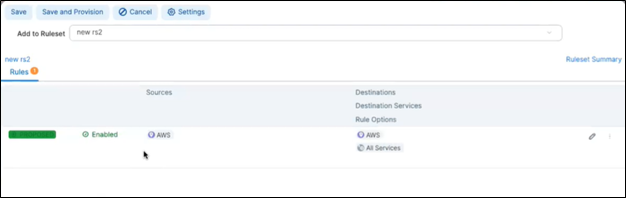
Select Rule Options.
You can, for example, select All Services.

Add a rule that is All Services to All Services.
After you have added the rule, click on View Rule to view it.
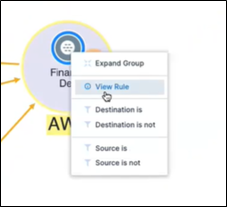

Everything inside that Rule talks to each other.
Provision Policies
Now that the security policy exists, apply it to the affected workloads so that the VENs add the rules to their native OS firewalls. The process of applying a draft policy is called Provisioning.
To apply the policy to the workloads, provision the new policy. Click the Provision icon on the web console top toolbar and select Pending Changes.
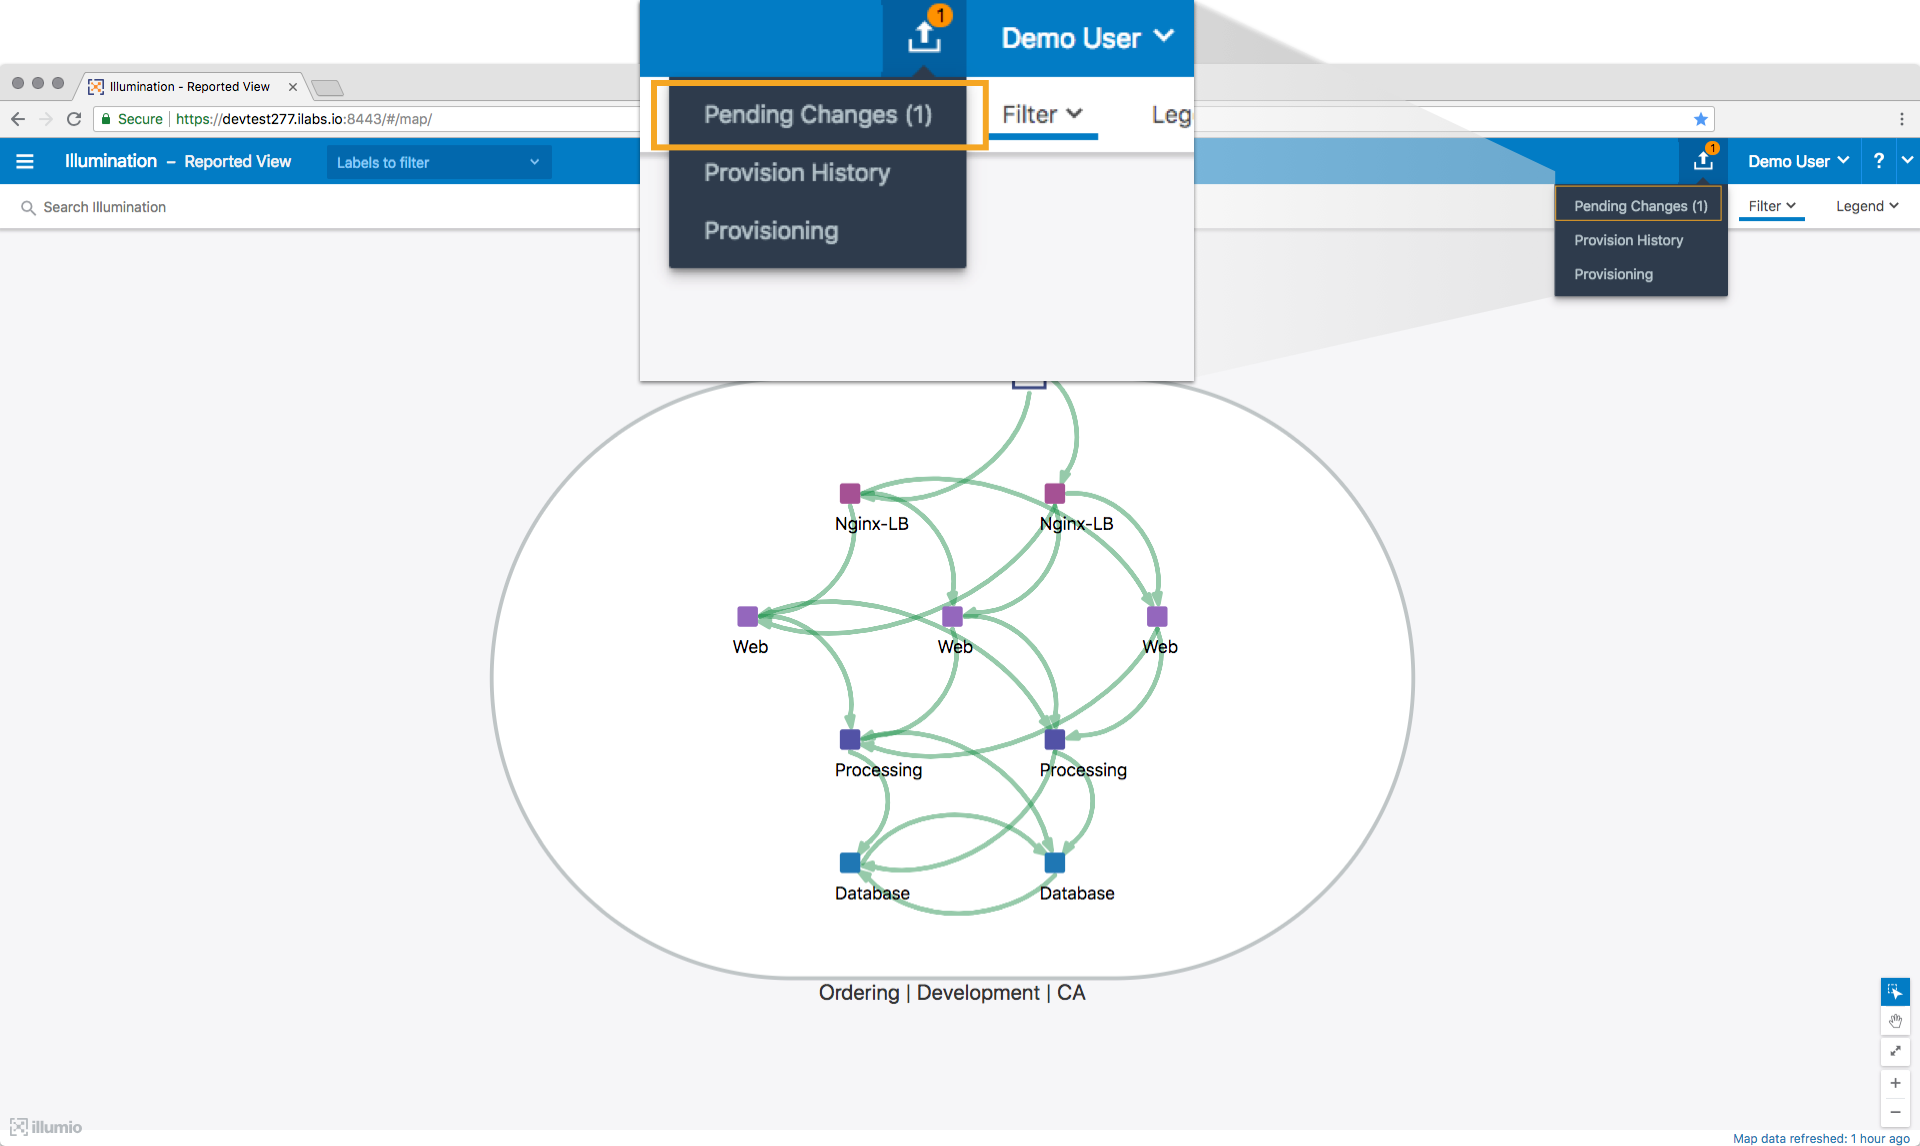
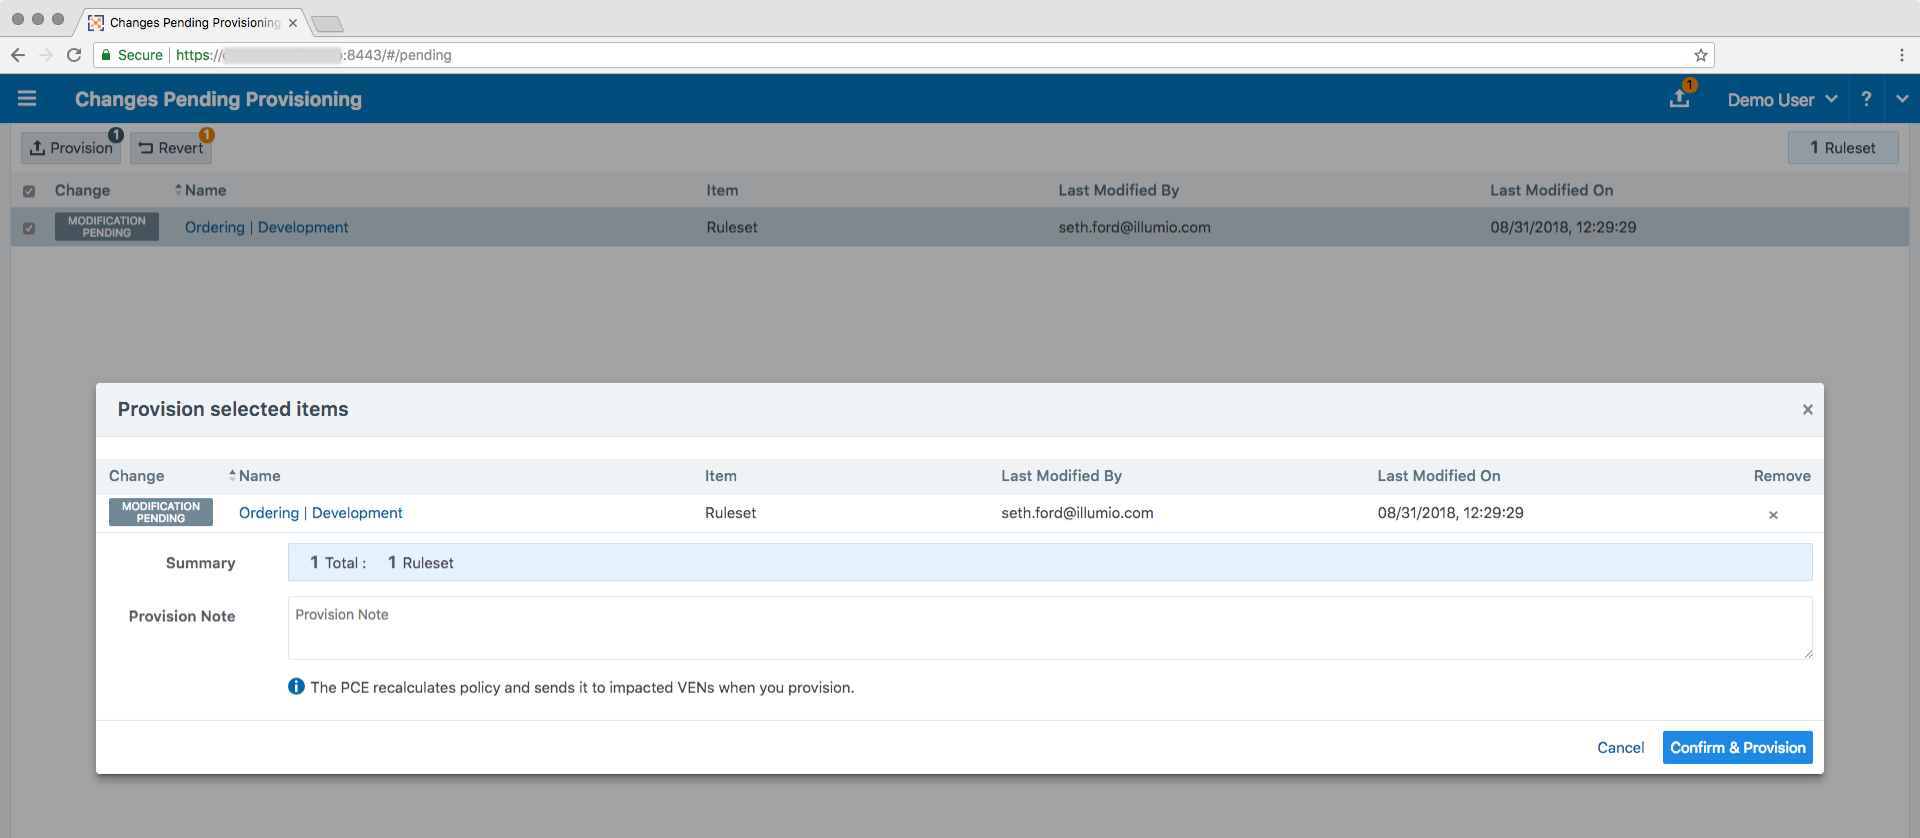
The list displays all policy items that have been added, modified, or removed. The top of the page shows a summary of changes based on item type.
Select all the new rulesets, rules, and services created for your application ringfence and click Provision.

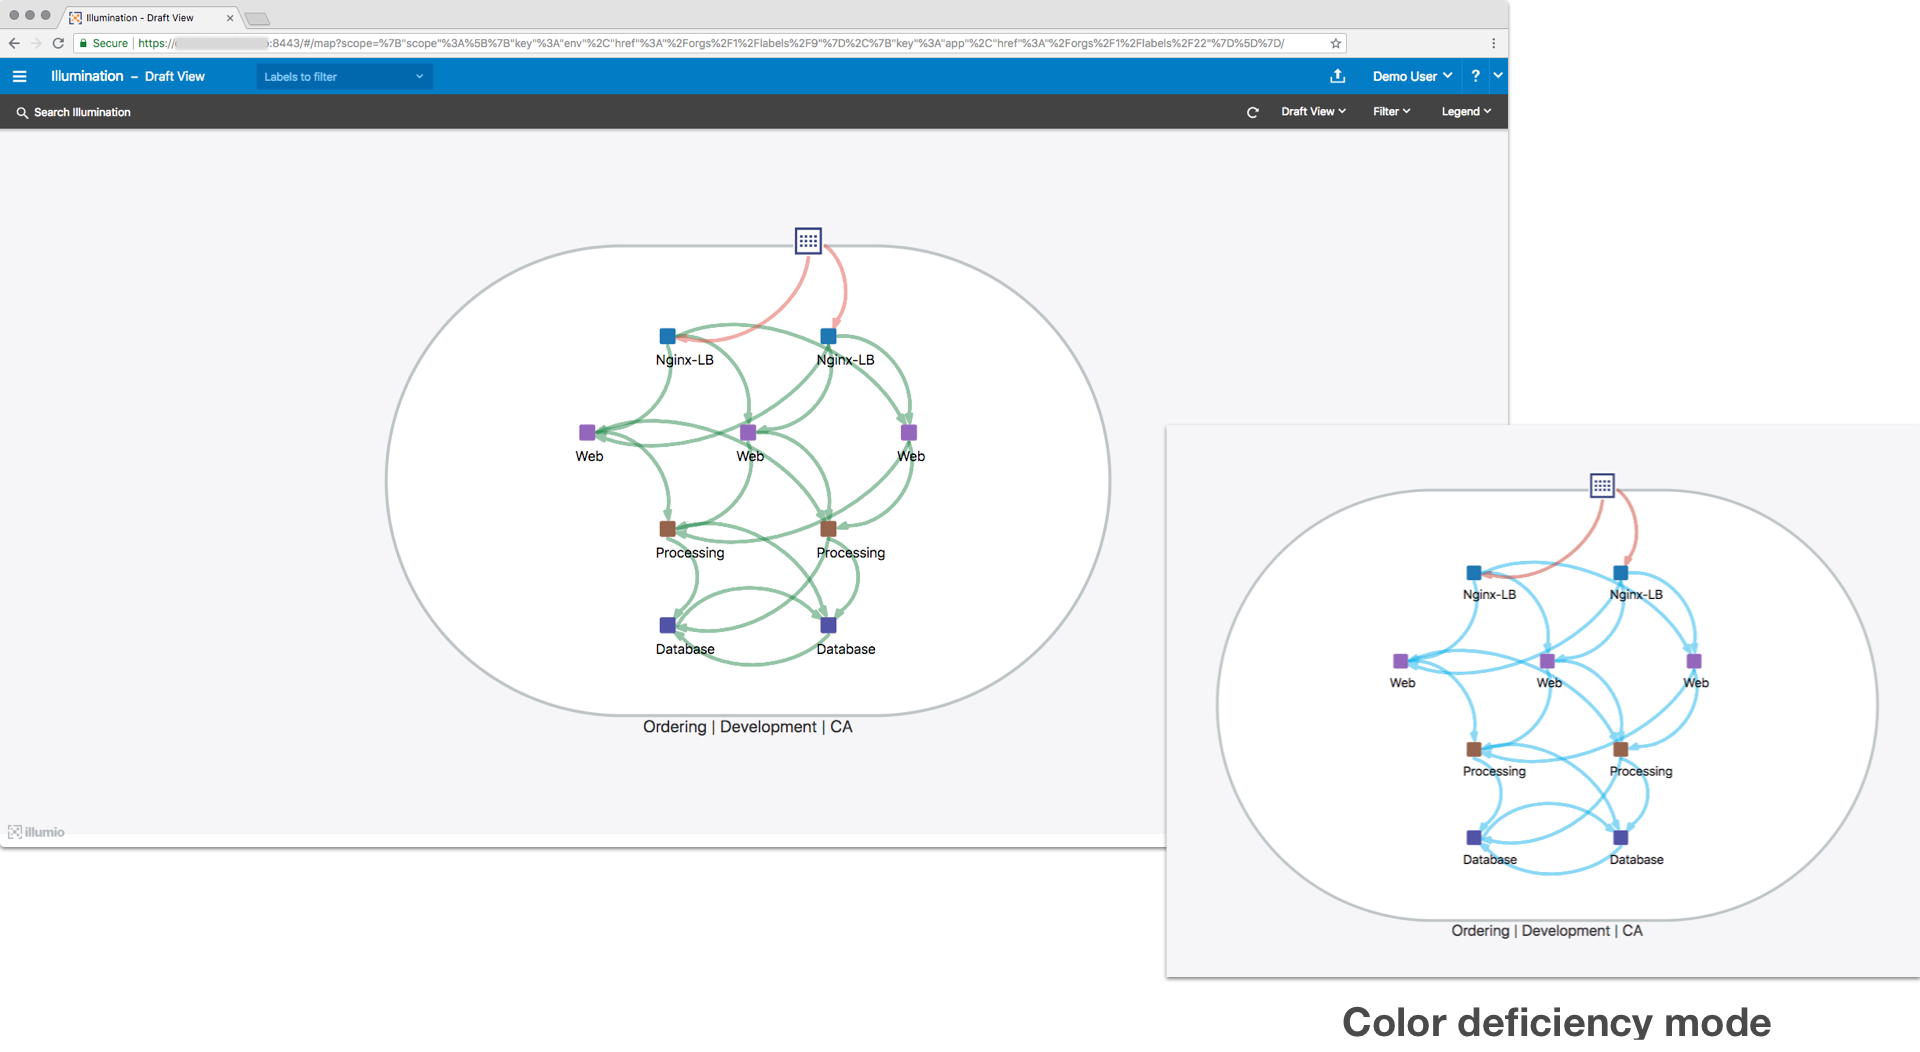
When a policy is provisioned, the policy is made Active. Viewing the Reported view in the Illumination map confirms that the traffic is now allowed.
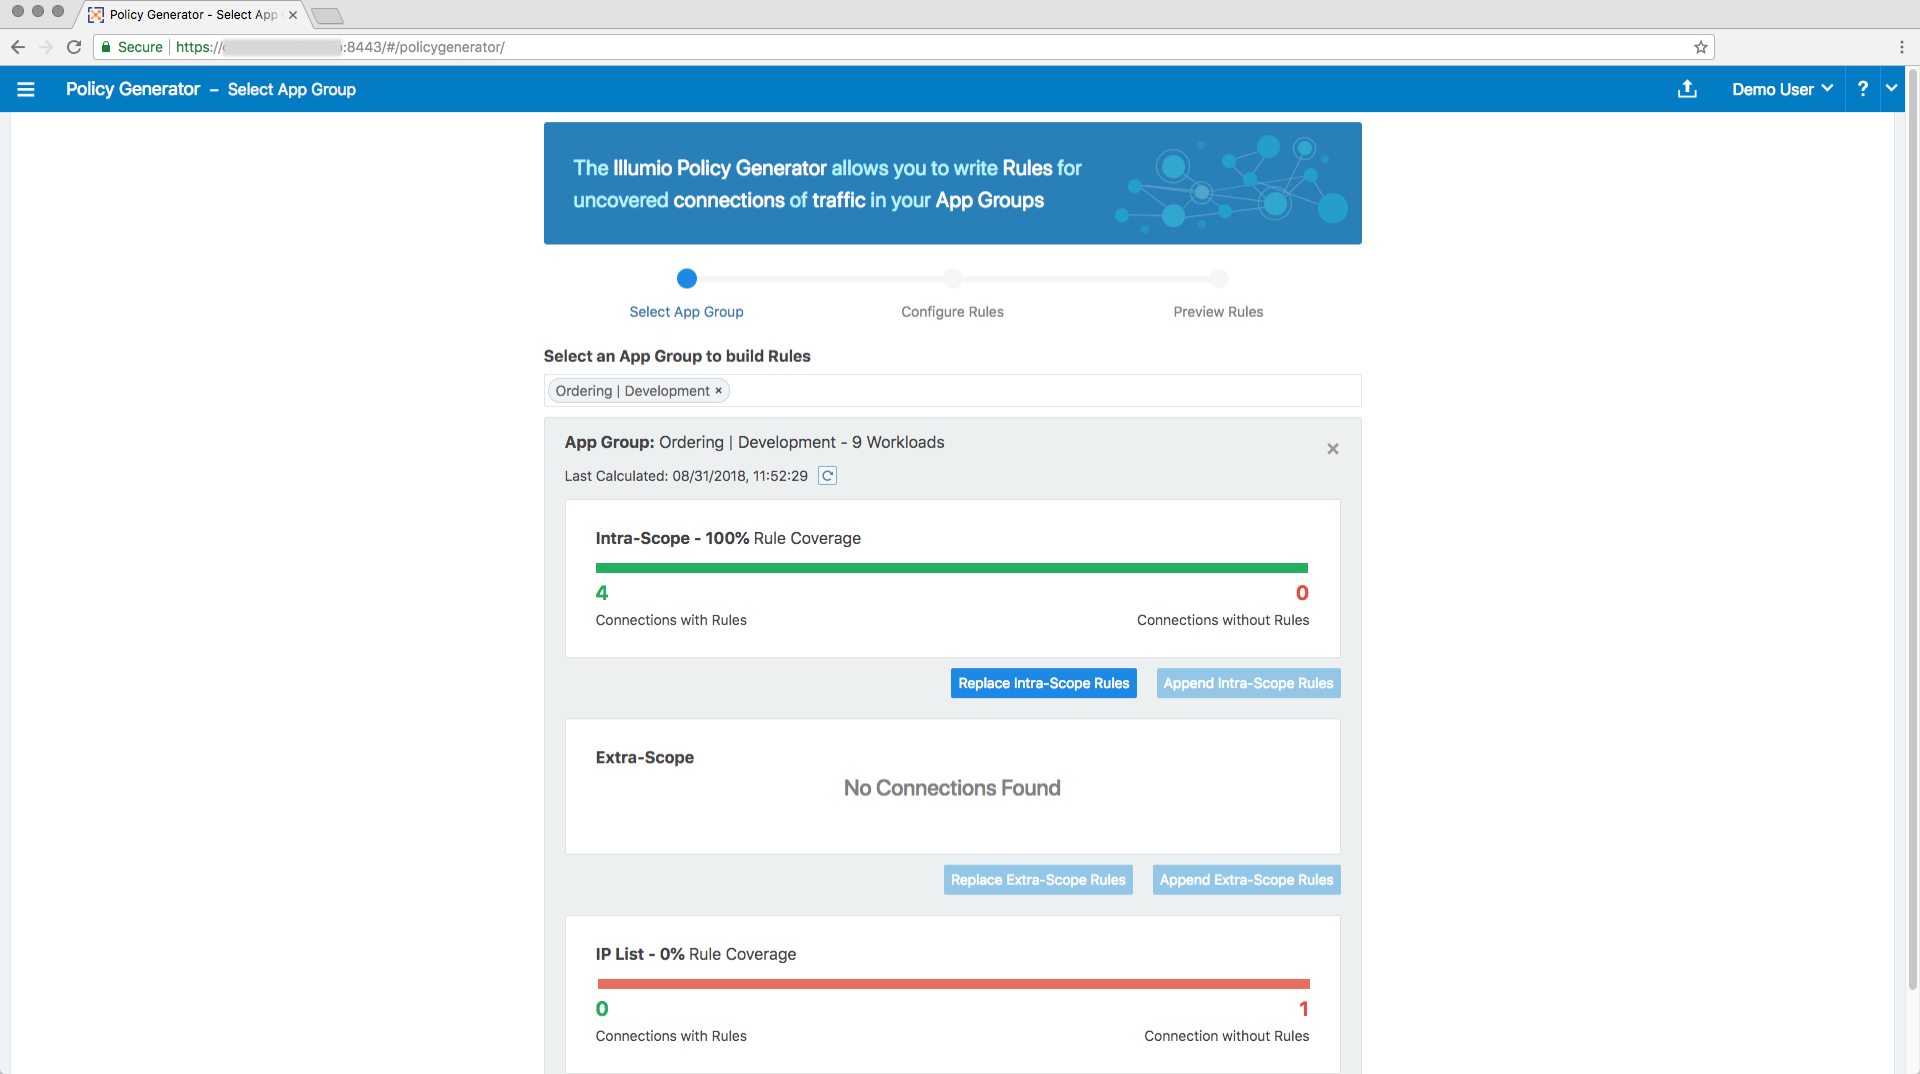
You can run Policy Generator as many times as you like to get the right policy model.
Congratulations! You have completed this tutorial to apply an application ringfence to your first set of workloads.