Installing and Configuring
This section provides step-by-step installation and configuration instructions.
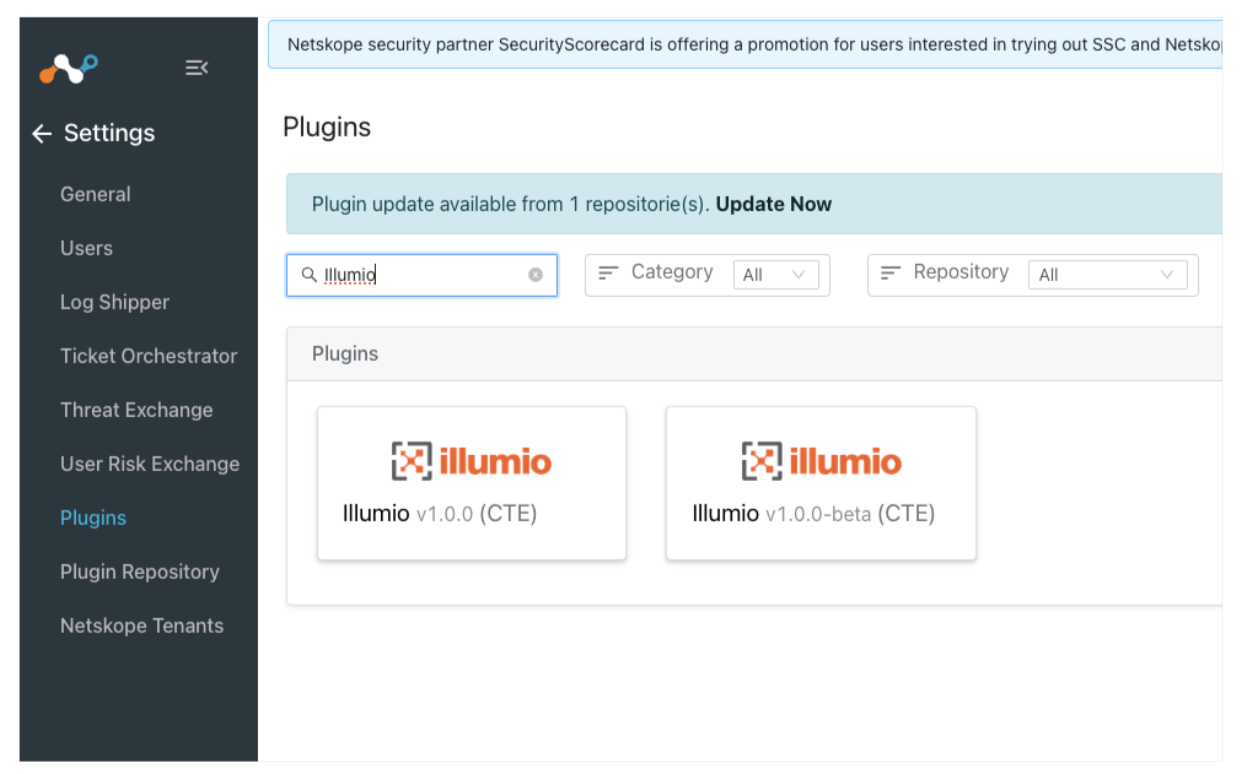
Access the Illumio Plugin for Netskope Cloud Exchange through the Cloud Exchange by navigating to Home > Settings > Plugins and search for Illumio.
Click Plugin and define the following parameters.
Parameters
Description
Configuration Name
Pick any reference name for the configuration. For example, IllumioConfig.
Sync Interval
Define the Sync Interval based on the organizational requirements. This would normally be the same as how often you update labels for your workloads. For example, 10 minutes.
Aging Criteria
Define how often the oldest data will be deleted.
Override Reputation
Leave this parameter empty.
Check Enable SSL Verification and click Next.
On the Next Page, enter your Illumio Credentials.
Parameters
Description
PCE URL
This is your Illumio PCE URL. Ensure that Cloud Exchange has network connectivity and access to PCE.For example, https://my.pce.com
PCE Port Number
Define the Illumio API Port number. The default port is 443. Change it to the desired port number if it is different from the default port number.
PCE Organization ID
Find Org ID by navigating to “My profile” after logging into the PCE. For example, 65865.
API Authentication Username
Create a new API key by navigating to “My API Keys” in the PCE and Click Add. Copy Authentication Username.
API Secret
Copy the Secret from previous output and paste it here.
Label Scope
Define the label scope in key value pairs to pull IPs against these labels from the PCE. Here are some examples:
app: HR
app: HR, loc: AWS
app: HR, loc: AWS
app: HR, loc: AWS
role: DC app: HR loc: AWS, role: DC, env: QA
Enable Tagging
Select Yes to enable tagging.
Click Save.
To configure information fetched by the plugin to pass it to Netskope for policies, follow these steps to define Business Rules and Sharing config.