Install and Configure the Illumio App for QRadar
The following topics describe how to install and configure the Illumio App for QRadar.
Before You Begin
Install this software before you can run the Illumio 1.4.0 app on QRadar:
Illumio App Bundle (v1.4.0)
QRadar version 7.4.3 GA or later
Access to the Illumio PCE
Illumio credentials to access labels from PCEs
Install QRadar
The application installation requires access to the QRadar console through a web interface at https://<<QRadarconsoleIP>>/.
For details about logging into QRadar, see the IBM QRadar documentation.
Log into the QRadar console.
Go to Admin > Extension Management.
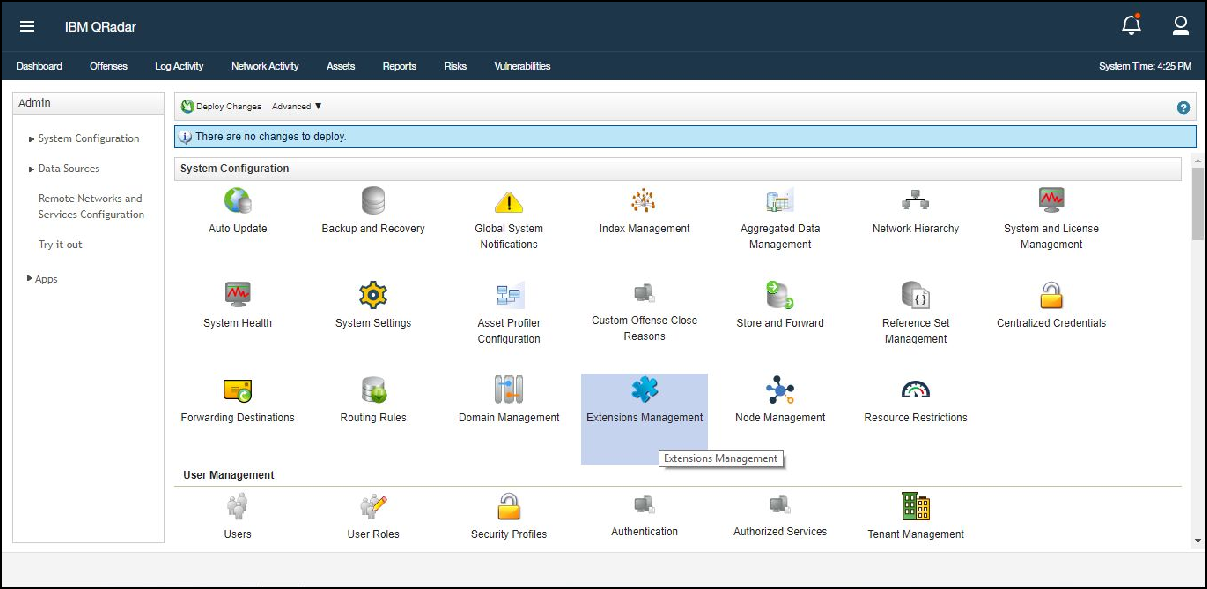
Click Add and select the downloaded Illumio App zip file.
QRadar displays a list of changes that the app is making.
Click Install.
After the application is installed, it will create a Docker container in the backend.
Deploy the changes on the Admin panel.
Refresh the browser to display the configuration page.
Configure the Application
After you complete the installation, you must configure the application to start data collection.
If you finished installing the app, you are already on the Configuration page. Skip to the second step.
To get to the Configuration page, find the installed app on the QRadar Admin Panel under Apps.
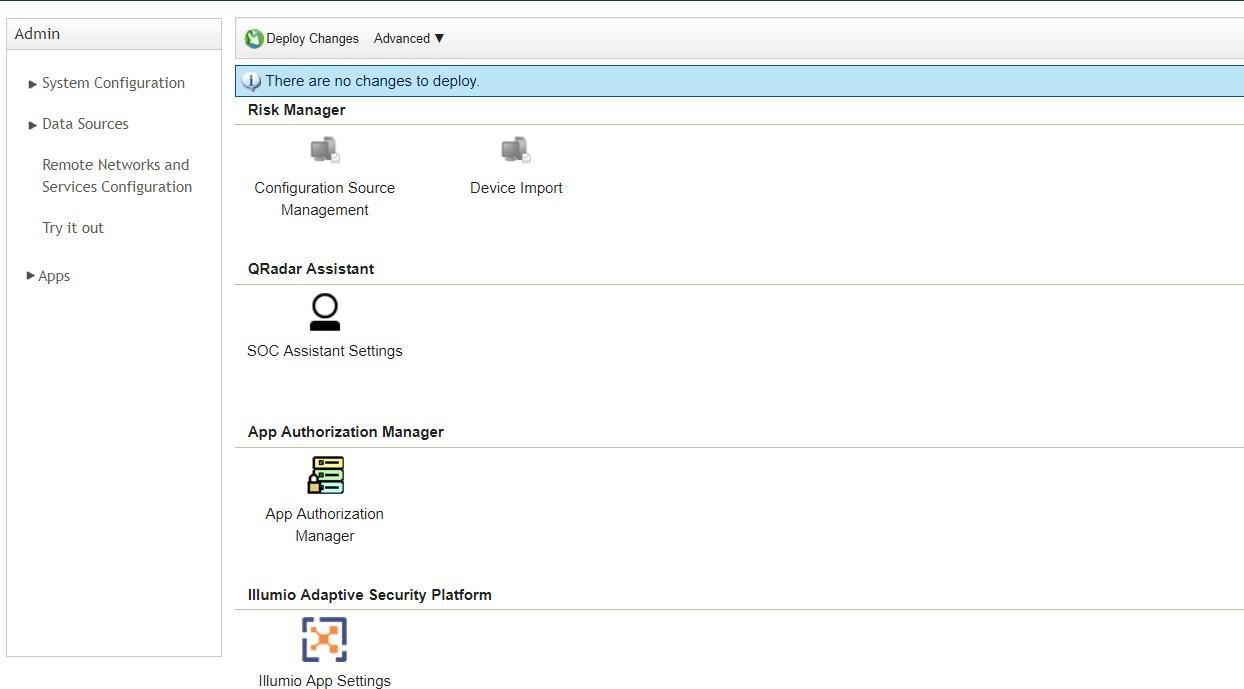
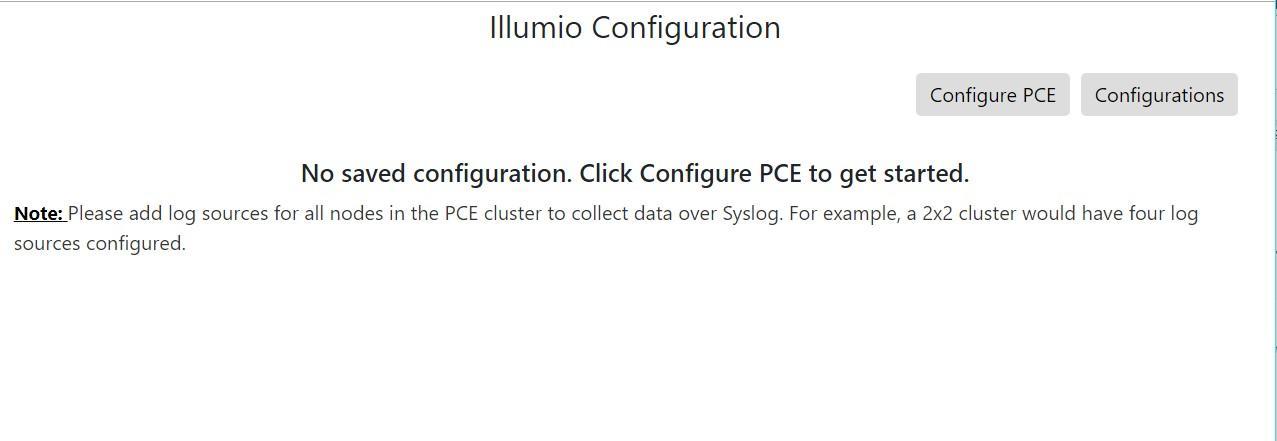
Open the Illumio App Configuration page, and click Configure PCE.
Note
The app supports multiple accounts for PCE configurations.
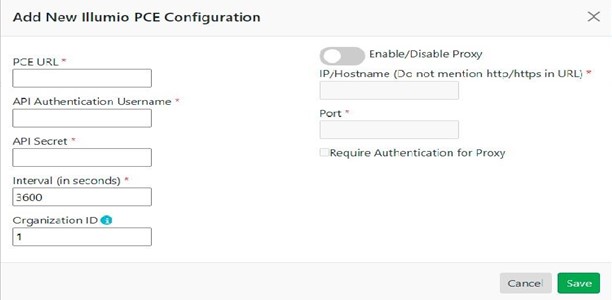
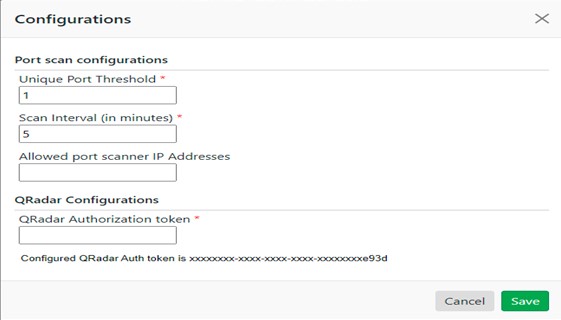
In the following screen, the Authorized Service Token is a value obtained from the QRadar App Authorization Manager.
Configure the PCE URL and your Illumio credentials, and your data collection will start. If Illumio PCE contains self-signed or internal CA certificates, make sure that the certificates are present in QRadar. If they are not, see Add Illumio PCE SSL Certificates in QRadar.
Note
Saved credentials are listed and you can set a proxy to fetch data from Illumio PCE configurations.
Assign User Roles and Capabilities
QRadar supports access-control lists (ACL) configurations for restricting access to different actions and dashboards. The Illumio App for QRadar adds a new capability that controls access to the Illumio dashboards. To access the Illumio dashboards, a user must be assigned a role that has this capability. By default, admin users have access to all the capabilities.
Use the following steps to add a new QRadar role with the Illumio dashboard capability:
Log into the QRadar console.
Go to Admin > User Roles.
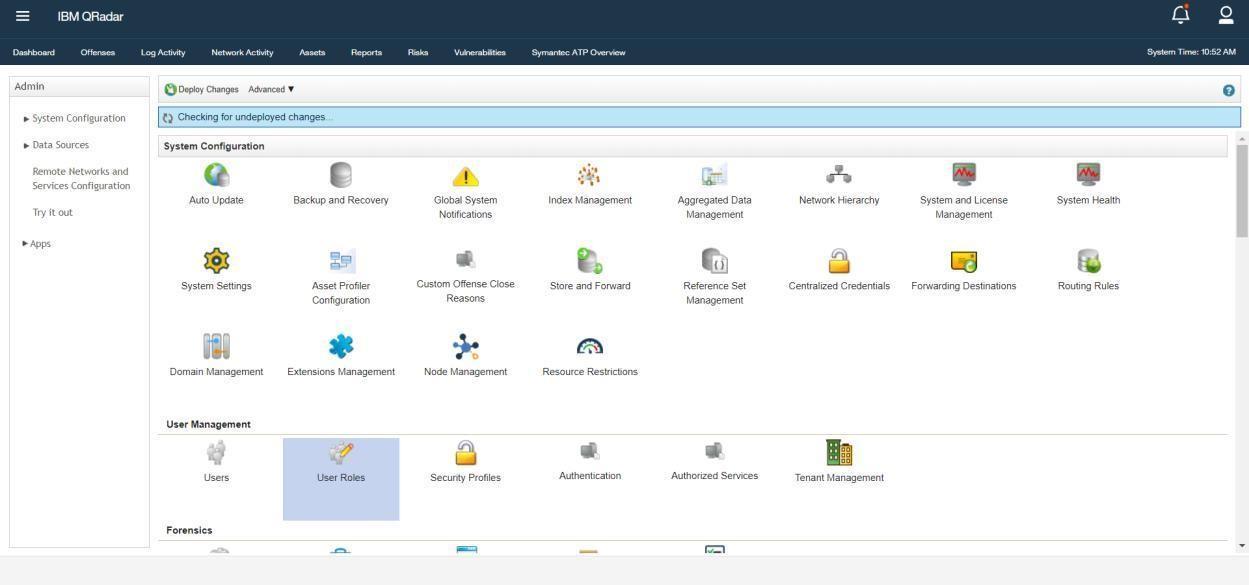
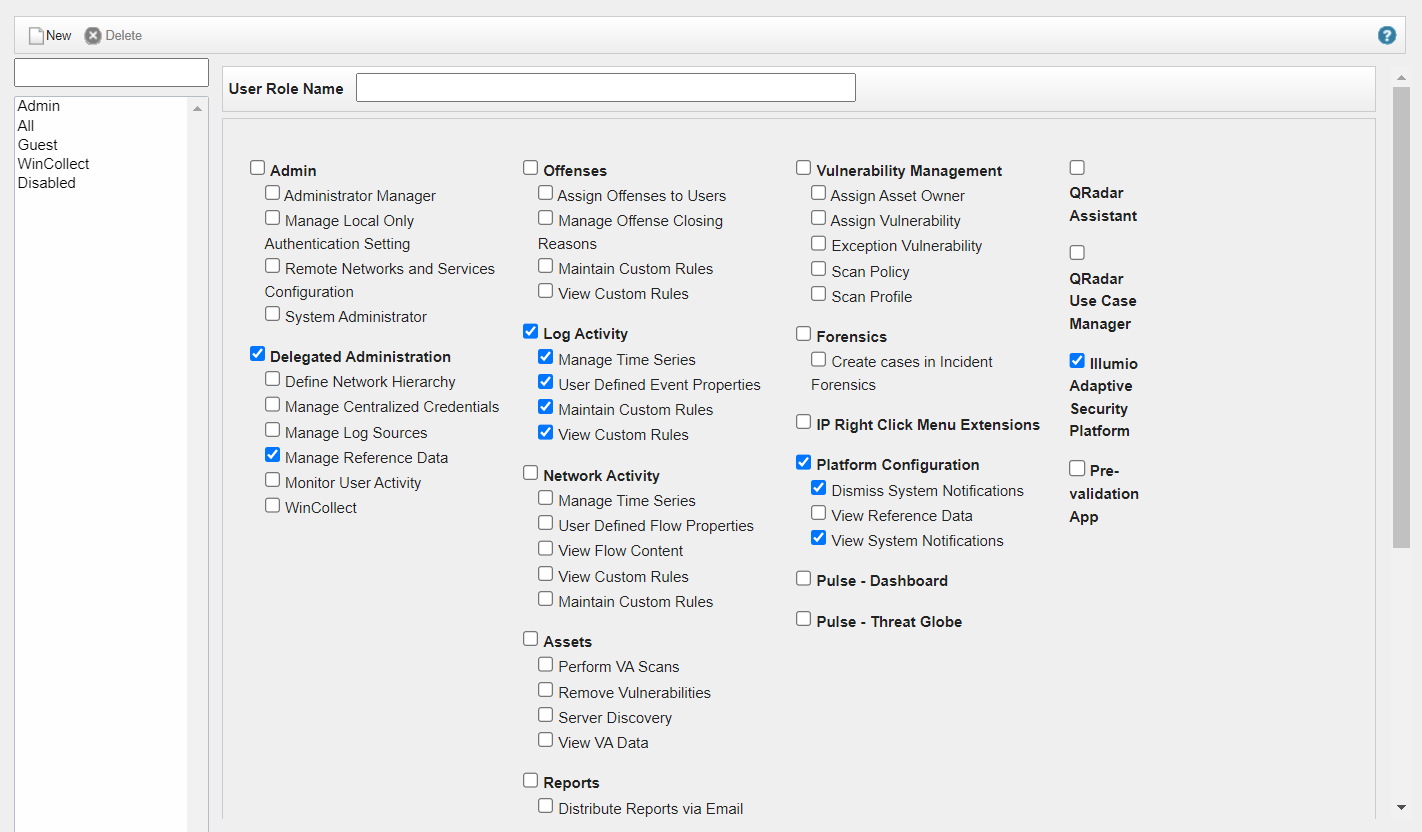
Click New and enter the name of the role.
Assign the Illumio Adaptive Security Platform capability, as shown in the following figure. This role is for users who should be allowed to view Illumio dashboards.
Add the PCE as a Log Source in QRadar
To enable QRadar to receive events from the Illumio App, you must add the Illumio PCE to QRadar as a log source. You need to add a separate log source to collect data from each PCE.
On the Admin tab in QRadar, select Log Sources, and click Launch.
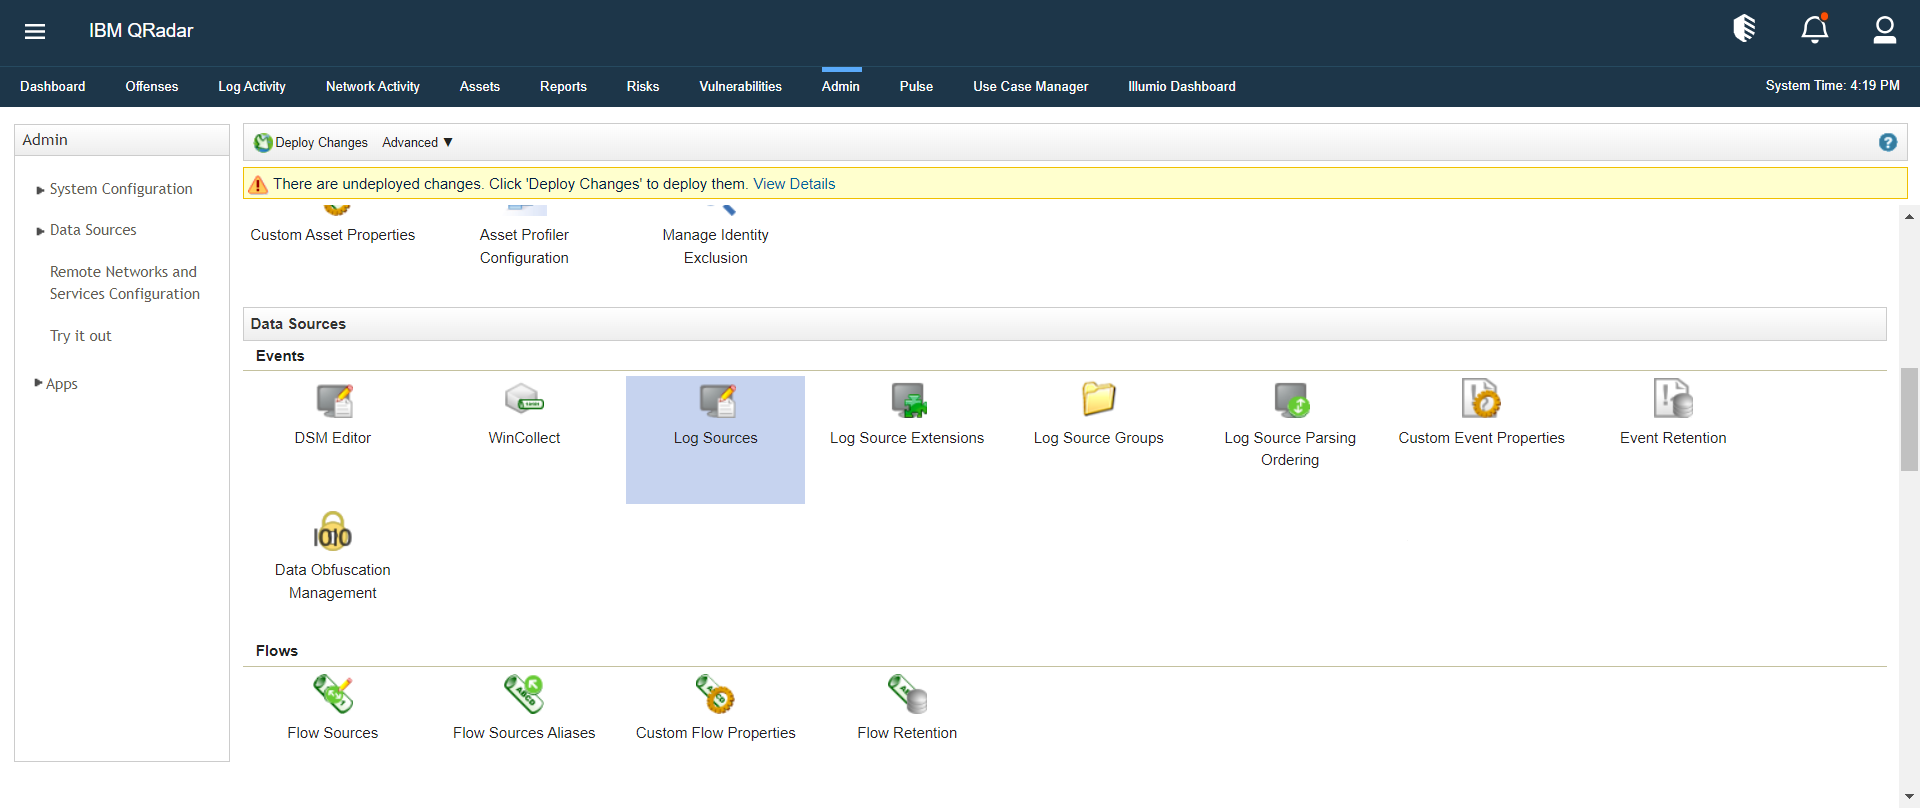
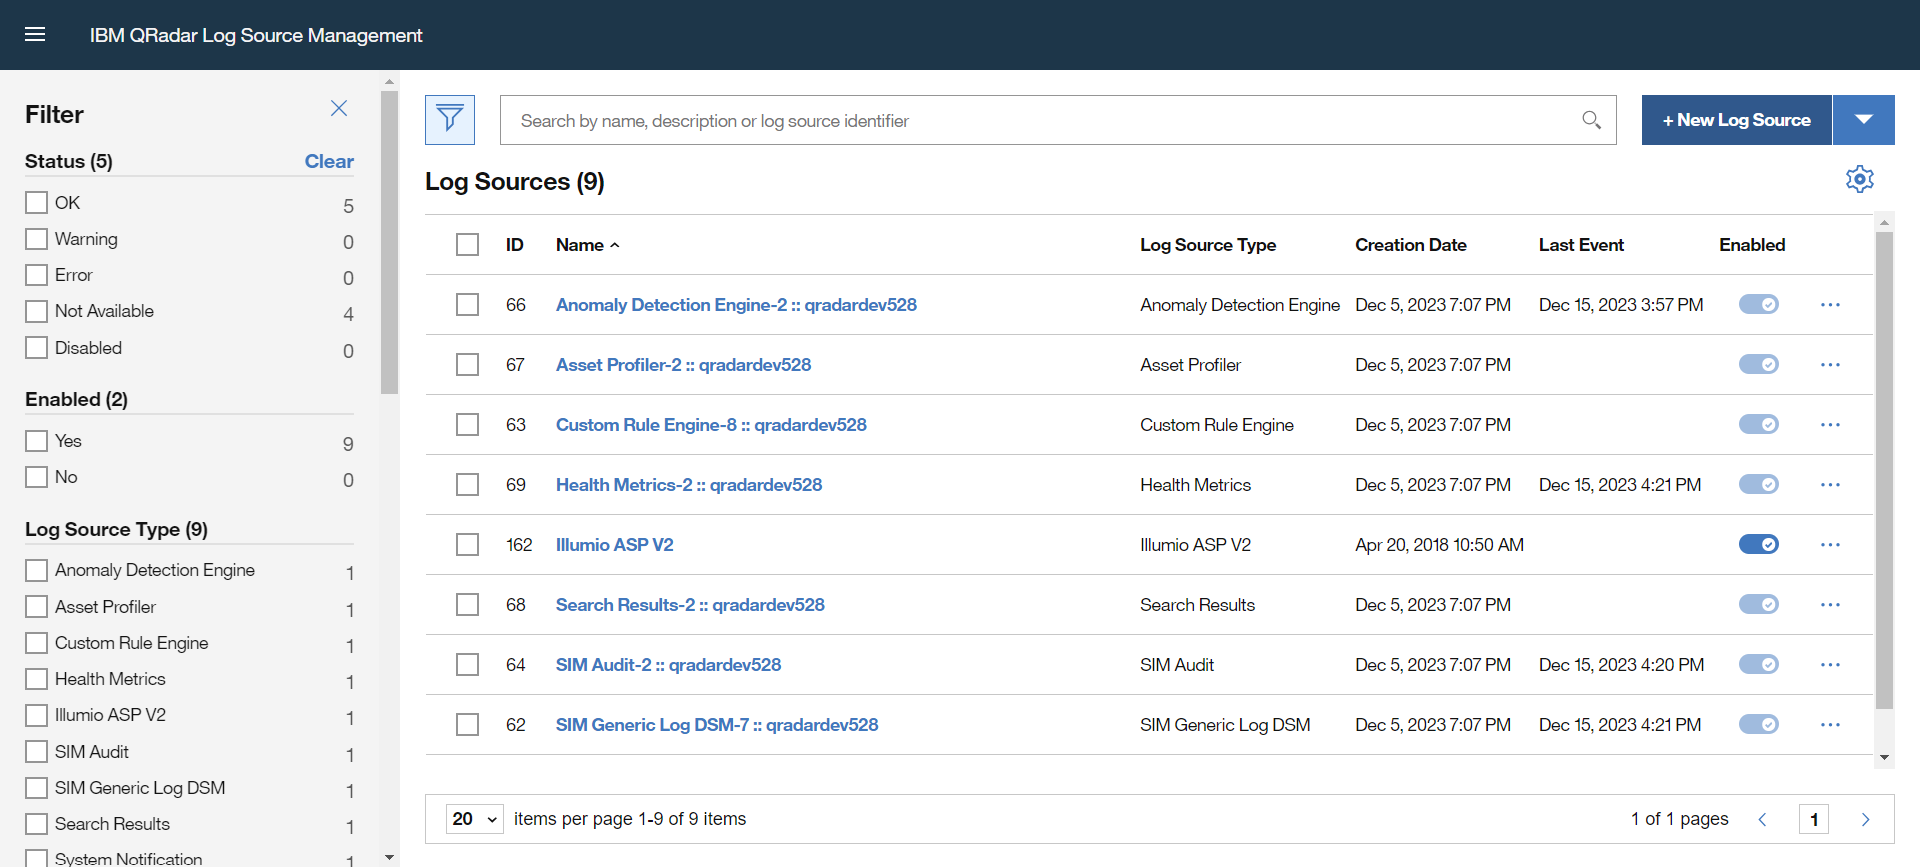
Select the Log Sources option, click New Log Source in the top-right corner, and select the Single Log source option.
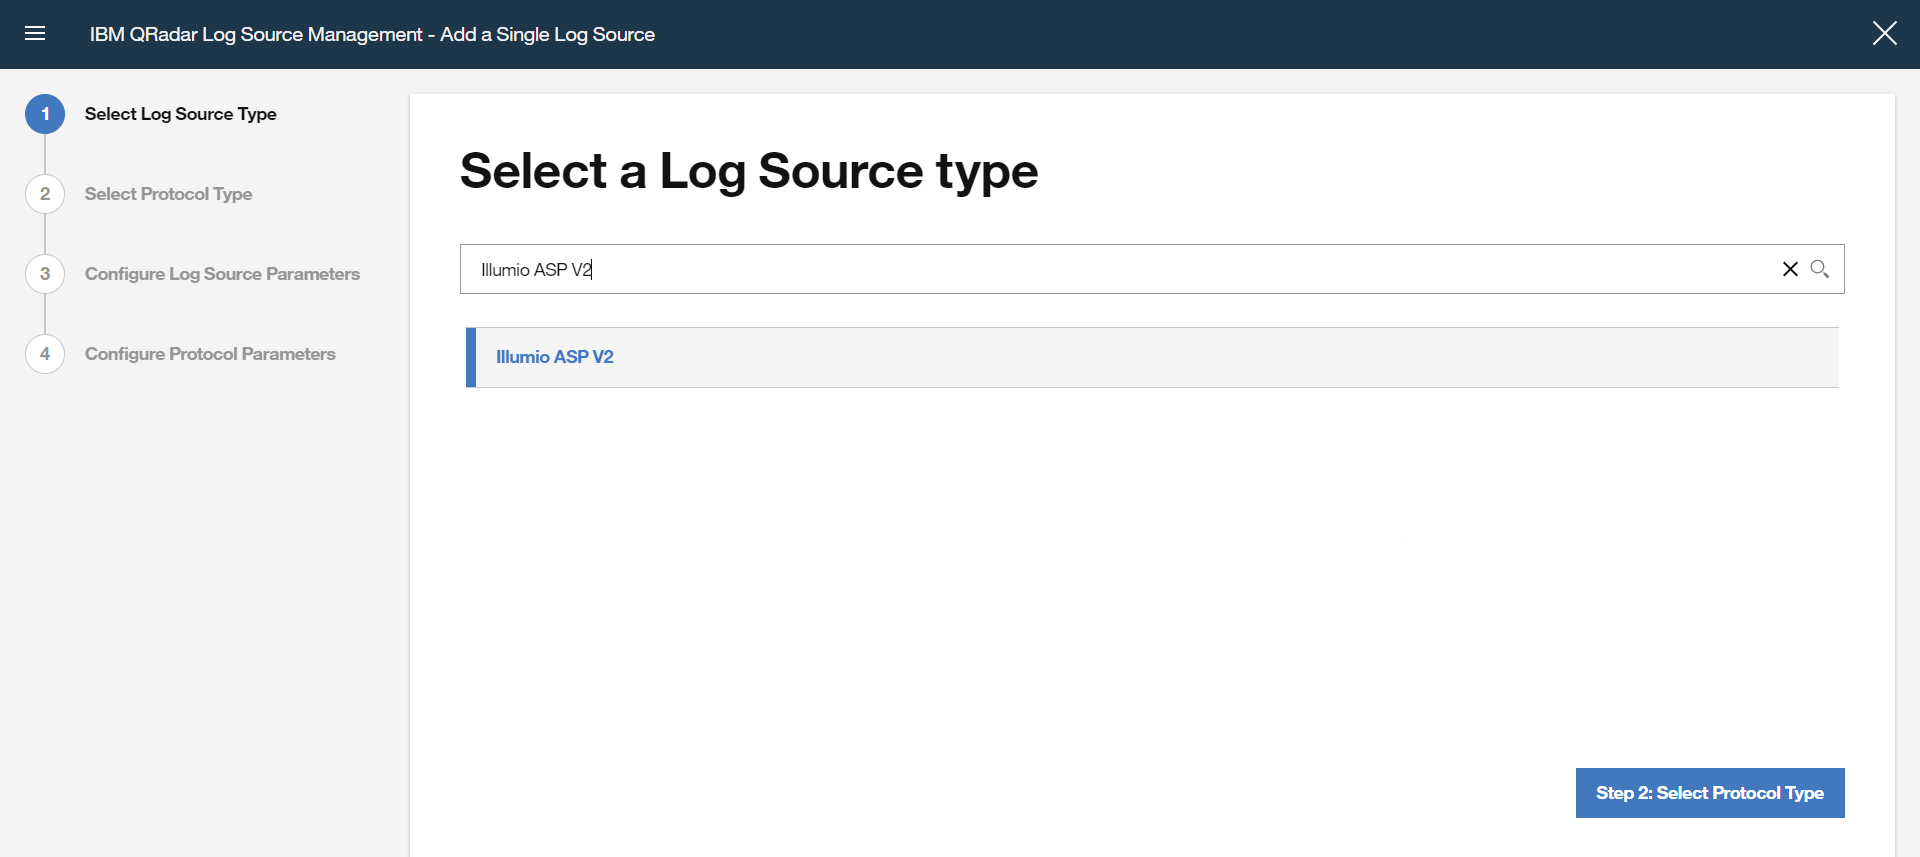
Select the Illumio ASP v2 option and click Step 2: Select Protocol Type in the left pane.
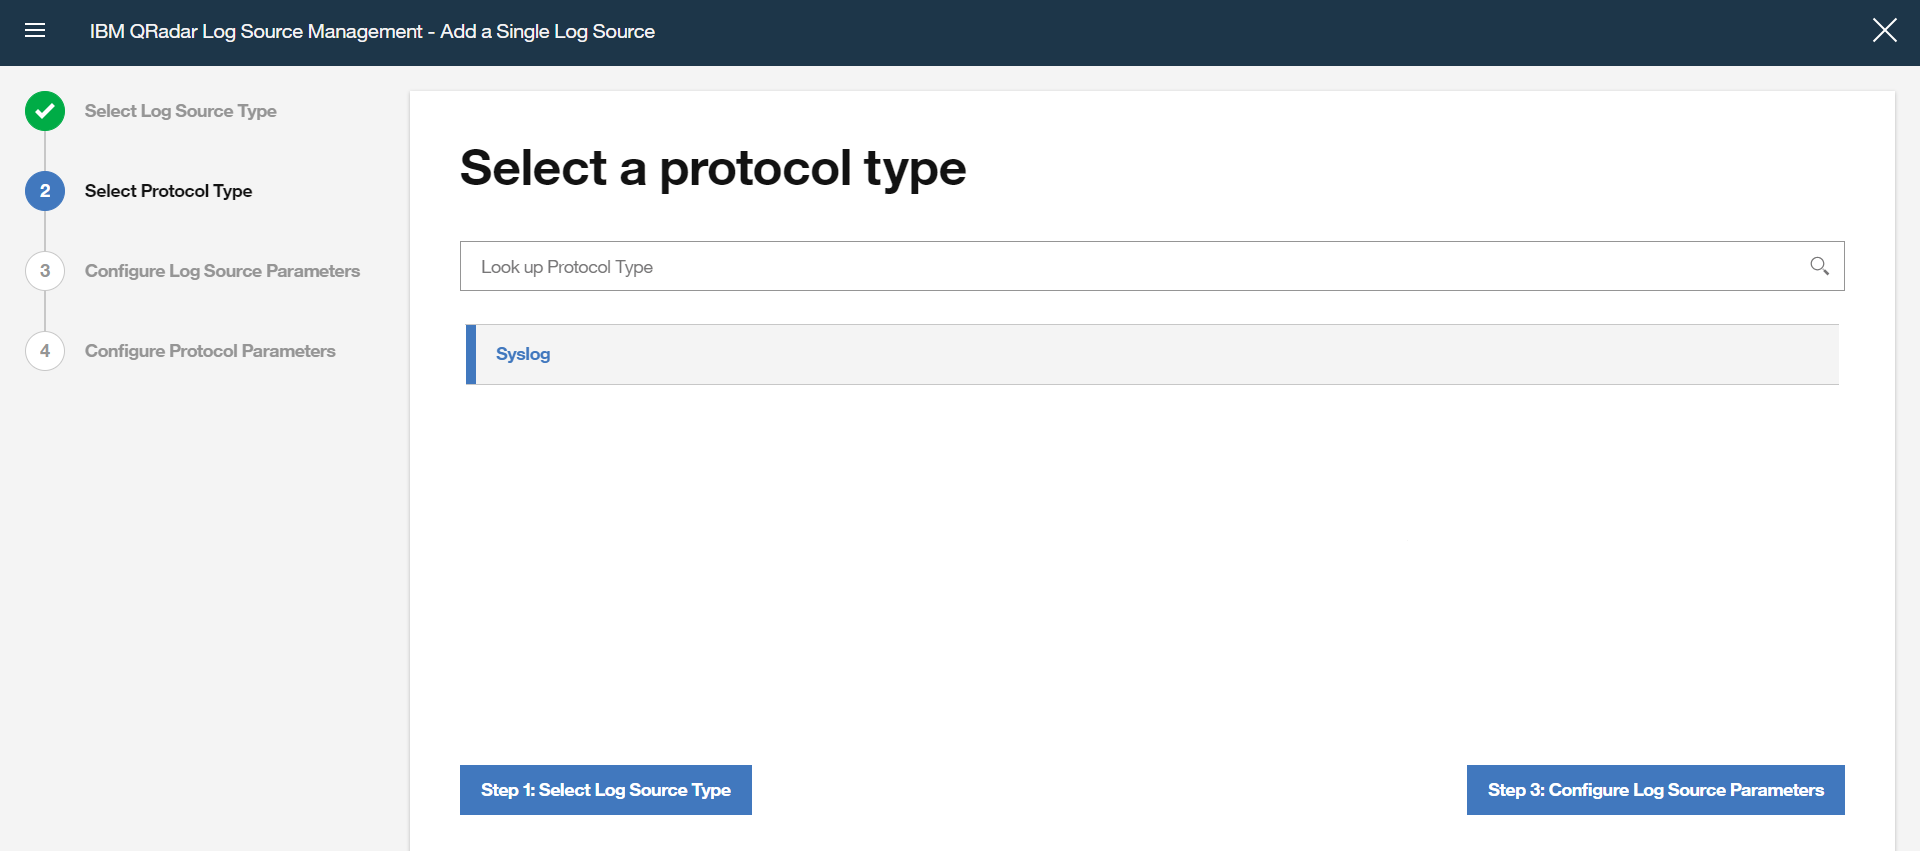
Select the Syslog option and click Step 3: Configure Log Source Parameters in the left pane.
Give the log source a suitable name for the PCE node, add a description if you want, and make sure to select Enabled.
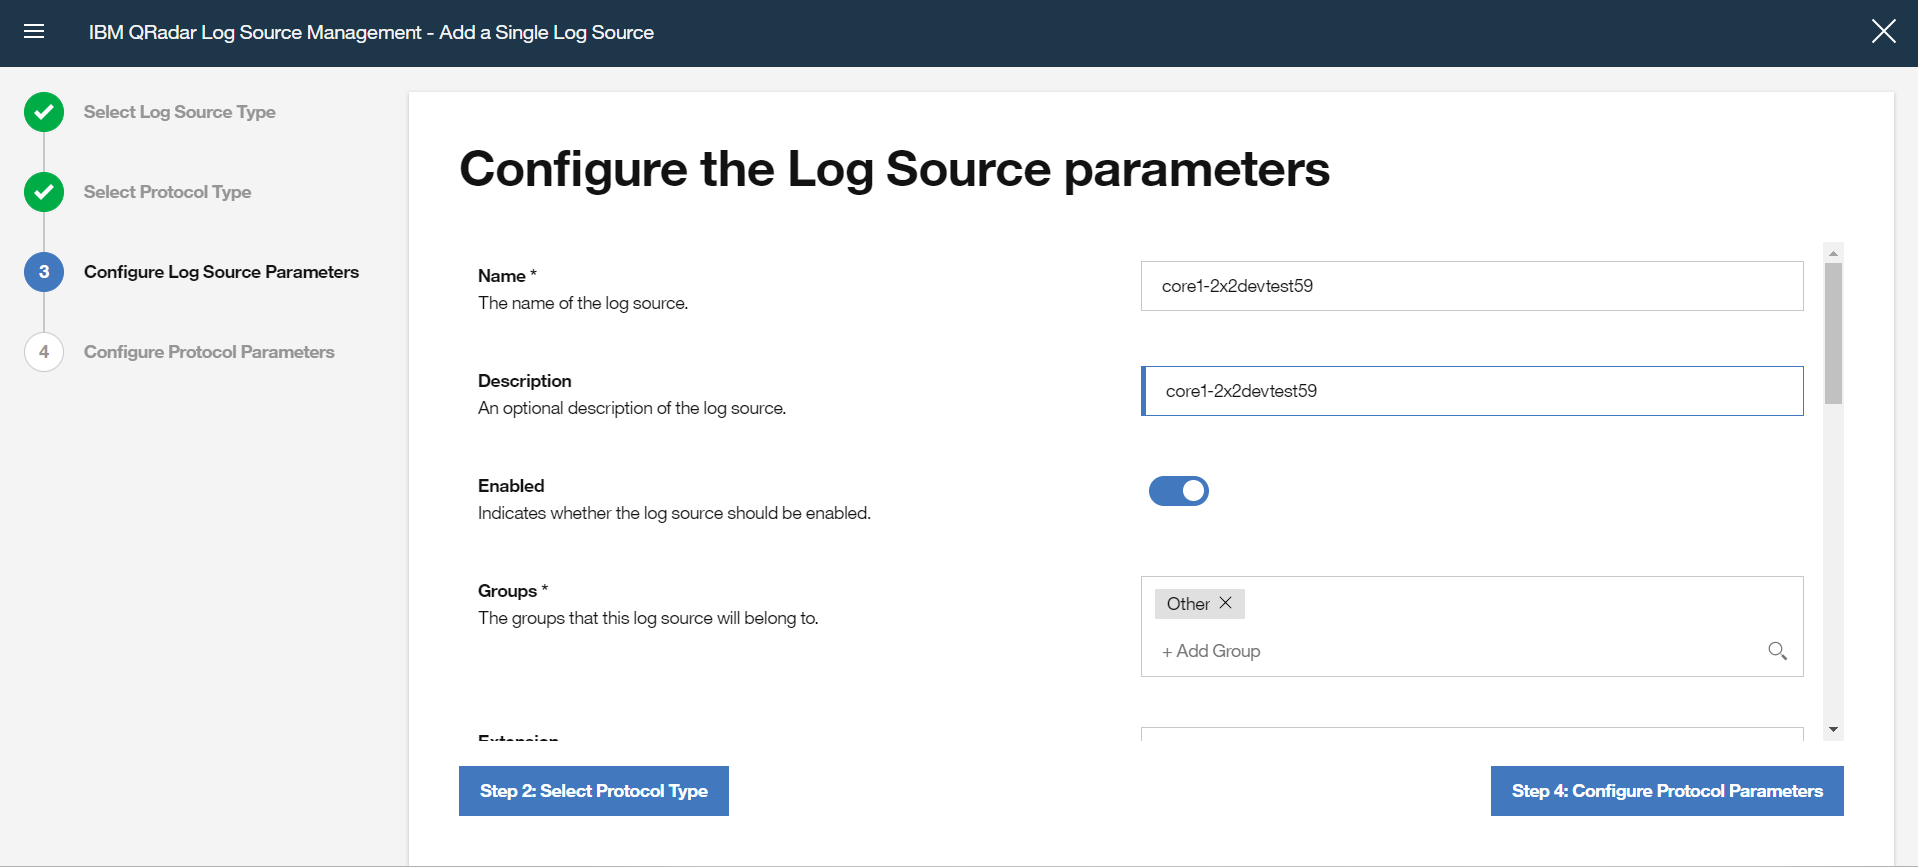
For the Extension field, choose IllumioASPCustom_ext.

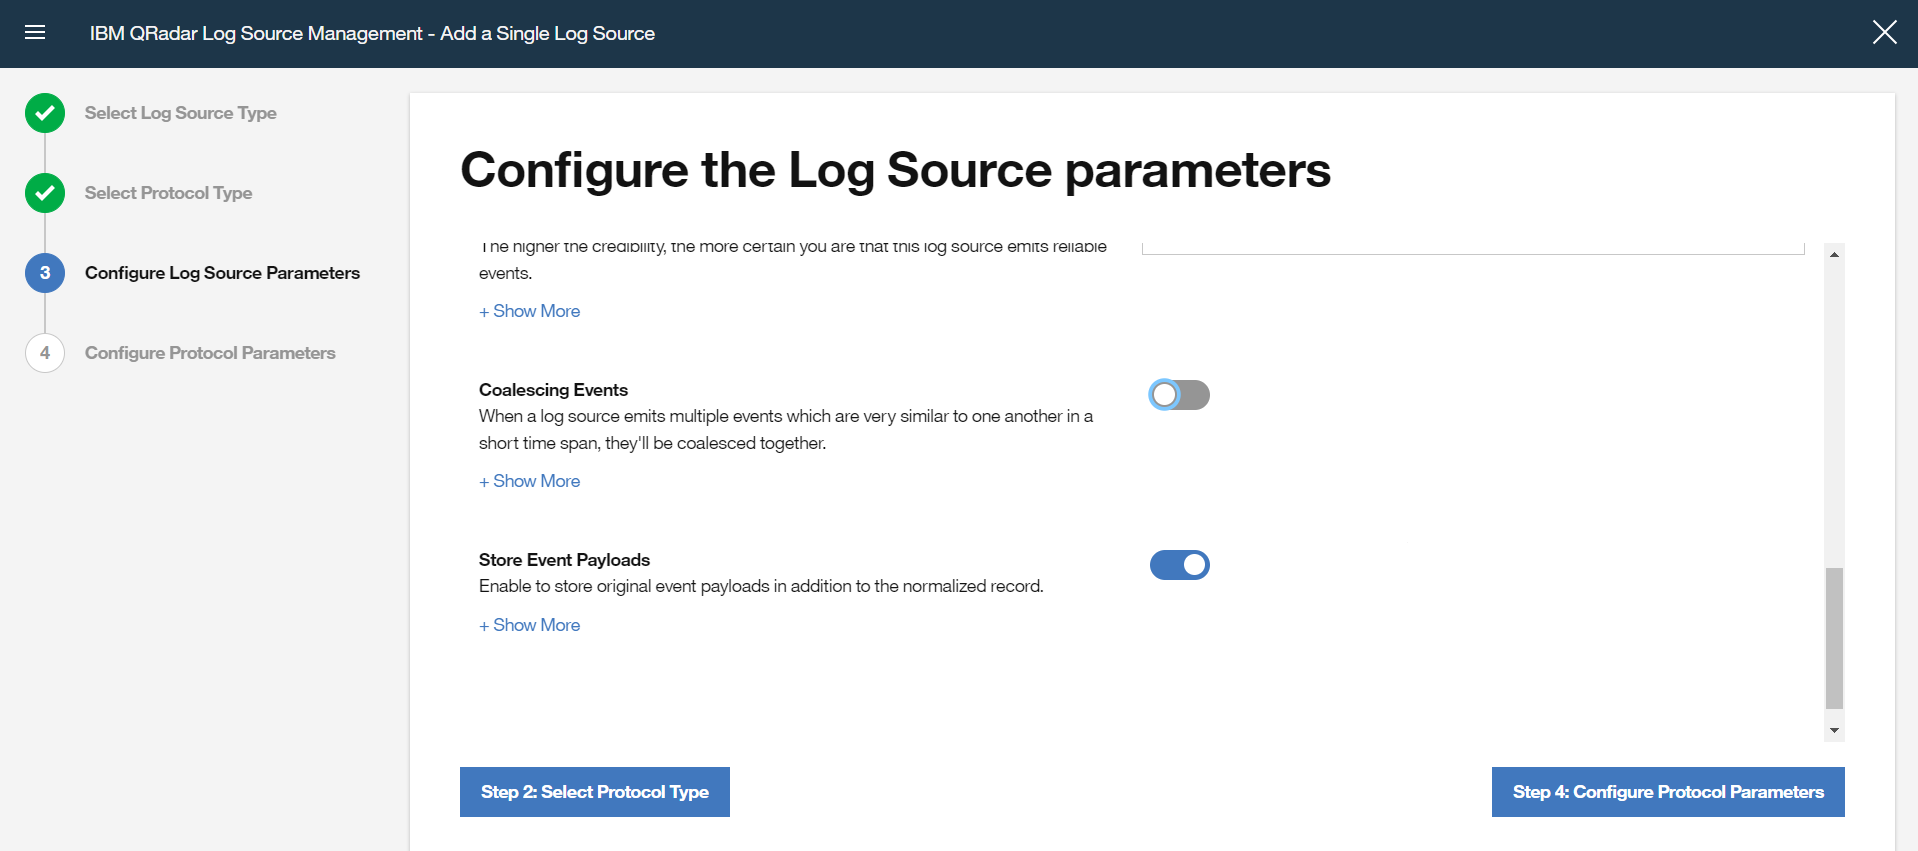
Turn off the Coalescing Events configuration and then click Step 4: Configure Protocol Parameters in the left pane.
In Log Source Identifier, enter the log source identifier as set in the syslog header on the host. This is typically the hostname (such as core1-2x2devtest59).
Keep the Incoming Payload Encoding field as the default value (UTF-8).
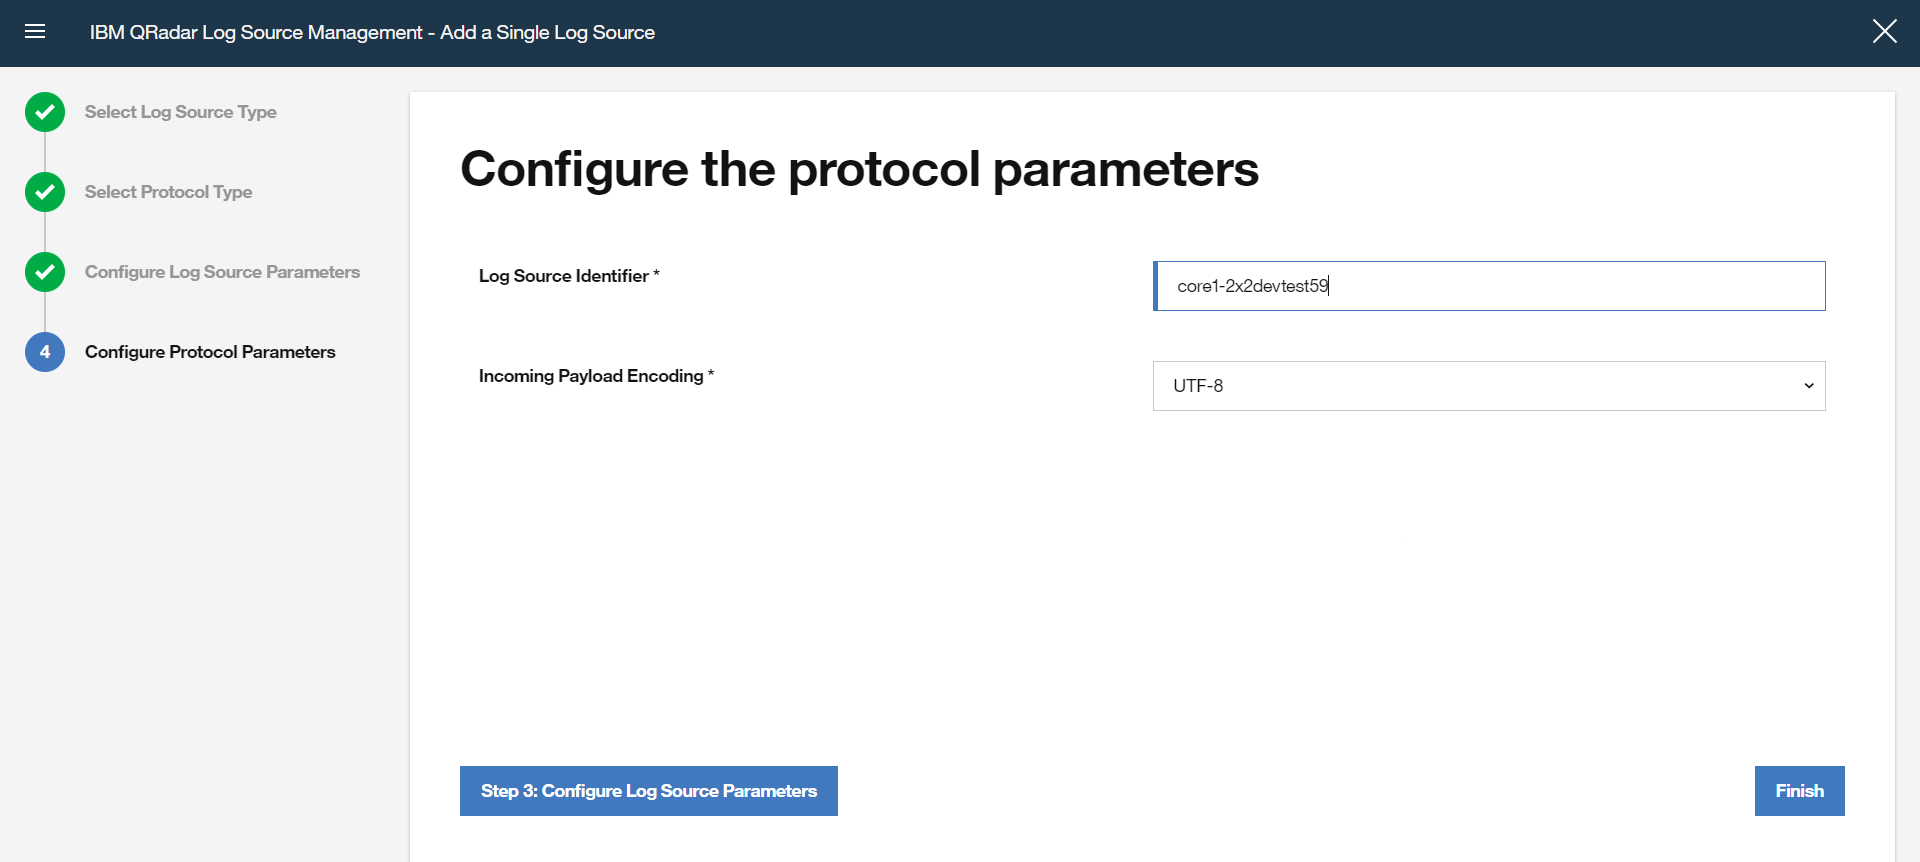
Click Finish.
Go back to the QRadar console, and in the Admin tab, click Deploy Changes.
Repeat these steps for all other core and database nodes in the cluster (such as core1, db1, db0).