Configure Microsoft Active Directory for use with Illumio AUS
You can use Illumio's Adaptive User Segmentation (AUS) with Microsoft Active Directory to manage network traffic across your organization. This feature allows you to include user groups in the PCE that map directly to your Active Directory Groups. You can then create rules using these groups to control outbound access on specific workloads, such as a VDI desktop, based on the user's group membership logged in to that workload.
Note
Similar support is also available for using AUS with Microsoft Entra ID. For details, see Configure Microsoft Entra ID (Azure AD) for use with Illumio AUS.
Key features for using Illumio AUS integration with Microsoft Active Directory
This solution includes these features:
Group Visibility in the UI: Synced Active Directory groups appear in the Illumio Console under the User Groups section with searchable metadata such as group name, unique ID, sync source, and last sync status.
Use Groups in Illumio policy: You can select imported AD groups in the Sources field when creating rules, allowing you to apply policies based on the identity of the logged-in users.
Full Enforcement: If traffic originates from a workload where the AD-logged-in user session is enforced by an AUS rule in your policy, then the traffic will be allowed.
Add Active Directory Groups to the PCE
Note
This procedure applies only to Active Directory. Don't perform this procedure if setting up Entra ID for use with AUS.
From the PCE web console menu, choose Policy Objects > User Groups.
On the User Groups page, click Add.
On the User Group page, enter the name, system identifier (SID), and description of the Active Directory.
Click Save.
The new group appears in the User Groups list in the PCE. You can now use the user group in an Illumio policy to control access to specific workloads.
Note
The PCE can display a maximum of 100 User Groups.
Add User Group-Based Rules for AUS
Note
This procedure applies only to Active Directory. Don't perform this procedure if setting up Entra ID for use with AUS.
From the PCE web console menu, select Policies.
In the Policies tab, click Add and choose Add from Scratch.
Enter a name and description for the policy.
Select an Application, Environment, and Location label to define the policy scope.
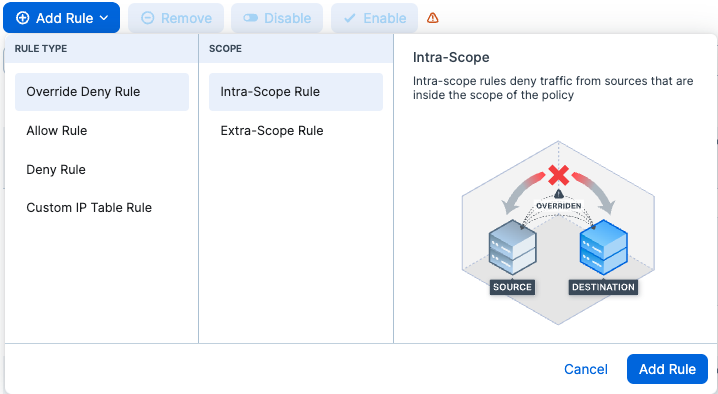
Click Add Rule and select the rule type:
In the Destinations drop-down list, select the user group to which you want to provide access to the other workload.
From the Source drop-down list, select the workloads or labels to which you want to grant a user group access.
In the Destination Services drop-down list, select the service you want the user groups to access on the provided workloads.
Click the Save icon at the end of the row.
Provision the changes.