Configuring Microsoft Entra ID (Azure AD) for Illumio Console
The following topics describe how to configure Microsoft Entra ID (Azure AD) for Illumio Console.
Prerequisites
Before you begin configuring Microsoft Entra ID, make sure that you have entered an email address, a first name, and a last name in your user profile within your Entra ID instance. These fields cannot be empty.
Registering Illumio Console as an Application in Microsoft Entra ID
Use this procedure to configure Microsoft Entra ID (formerly known as Microsoft Azure Active Directory) as an external identity provider (IdP) in the Illumio Console's Okta instance using the OIDC protocol.
Log into Entra ID (Azure AD).
In the left navigation panel, click App registrations.
On the App Registrations page, click New registration.
On the Register an application page:
In the Name field, enter a name for your Illumio Console instance, such as "MyCorp on Illumio".
For Supported account types, select Accounts in this organizational directory only (Single tenant) .
Under Redirect URI, choose Single-page application (SPA) and enter the URI to Illumio Console: https://console.illum.io.
Click Register.
Confirming App Registration, Entering a Redirect URI, and Enabling Tokens
After you have registered Illumio Console as an application in Entra ID, verify that it displays, add a redirect URI, and enable tokens.
On the App registrations page, click your application name (for example,"MyCorp on Illumio") to see more details.
On your application details page, click Authentication.
Confirm that you have entered the proper Redirect URI, and correct it if needed.
Under Implicit grant and hybrid flows, enable the ID tokens setting.
Obtaining the Client ID and Tenant ID and Updating the Manifest
The next step in configuring Entra ID for Illumio Console is to obtain the Client ID and Tenant ID and to update the manifest.
On the details page for your Illumio Console application, click Settings.
Copy the Client ID setting shown there. You will use this as the Client ID setting when completing your OIDC authentication in the Illumio Console.
Copy the Directory (tenant) ID shown there. This ID will be used as the basis for the Issuer URL setting when completing your OIDC authentication in the Illumio Console, where you will enter the URL in the form: https://-login.microsoftonline.com/tenant_ID/v2.0.
Click Manifest, and on this page use the editor to update the following JSON entries to these values:
"acceptMappedClaims": true
"accessTokenAcceptedVersion": 2
Instead of
accessTokenAcceptedVersionyou might seerequestedAccessTokenVersion. Whichever entry is in your manifest, ensure that this entry is set to2.
Configuring Tokens in Microsoft Entra ID
The next step in the process of configuring Microsoft Entra ID for Illumio Console is to configure tokens.
Click Token configuration and do the following:
Select ID Token.
Click Add optional claim, and enable email or upn in the list of claims. If it is available, also enable the Turn on Microsoft Graph email permission option.
Click Add.
On the Token configuration page, confirm that either email or upn is listed under the Claim column with ID as the Token type.
In the left navigation pane, click API permissions.
Note
You enabled API permissions for email and profile in Step 1.b, when you enabled Microsoft Graph email permission.
Click Microsoft Graph under the API/Permissions name column, and enable the openid permission.
The email and profile permissions should be enabled already.
Click Add.
Setting Up Custom Claim Mapping
The next step in the process of configuring Microsoft Entra ID for Illumio Console is to set up custom claims mapping.
From the Entra ID Home page, click Enterprise applications.
From the list of your applications, click the name of your new Illumio Console application (for example, "MyCorp on Illumio").
In the details page for your Illumio Console application, click Properties, and ensure that the Assignment required? option is set to Yes. This setting ensures that when a user logs in, the user is assigned to the target Entra ID application.
Click Single sign-on from the left navigation. On the OIDC-based Sign-on page, under the Attributes and Claims section, click Edit.
On the Attributes & Claims page, click + Add new claim.
On the Manage claim page, enter a new claim for firstName:
Enter firstName in the Name field.
Set the Source value to Attribute.
In Source attribute, select user.givenname for the firstName claim.
Important
This value must match exactly.
Leave all other options as the default values or as unspecified.
Click Save .
Enter a new claim for lastName:
Enter lastName in the Name field.
Set the Source value to Attribute.
In Source attribute, select user.surname for the lastName claim.
Important
This value must match exactly.
Leave all other options as the default values or as unspecified.
Click Save.
The next time you log into the Illumio Console, a Microsoft window requests that you grant permission. Click Accept.
Adding Users to Entra ID and Registering Users to an Application
Within the Azure portal, enter "users" in the search field and select the Users option with an icon.
Click + New user to add a new user and select Create new user from the + New user drop-down list.
Enter values in the User principal name and Display name fields.
Note
The value in the Mail nickname field is derived from the User principal name field and the Password field is prepopulated with a password.
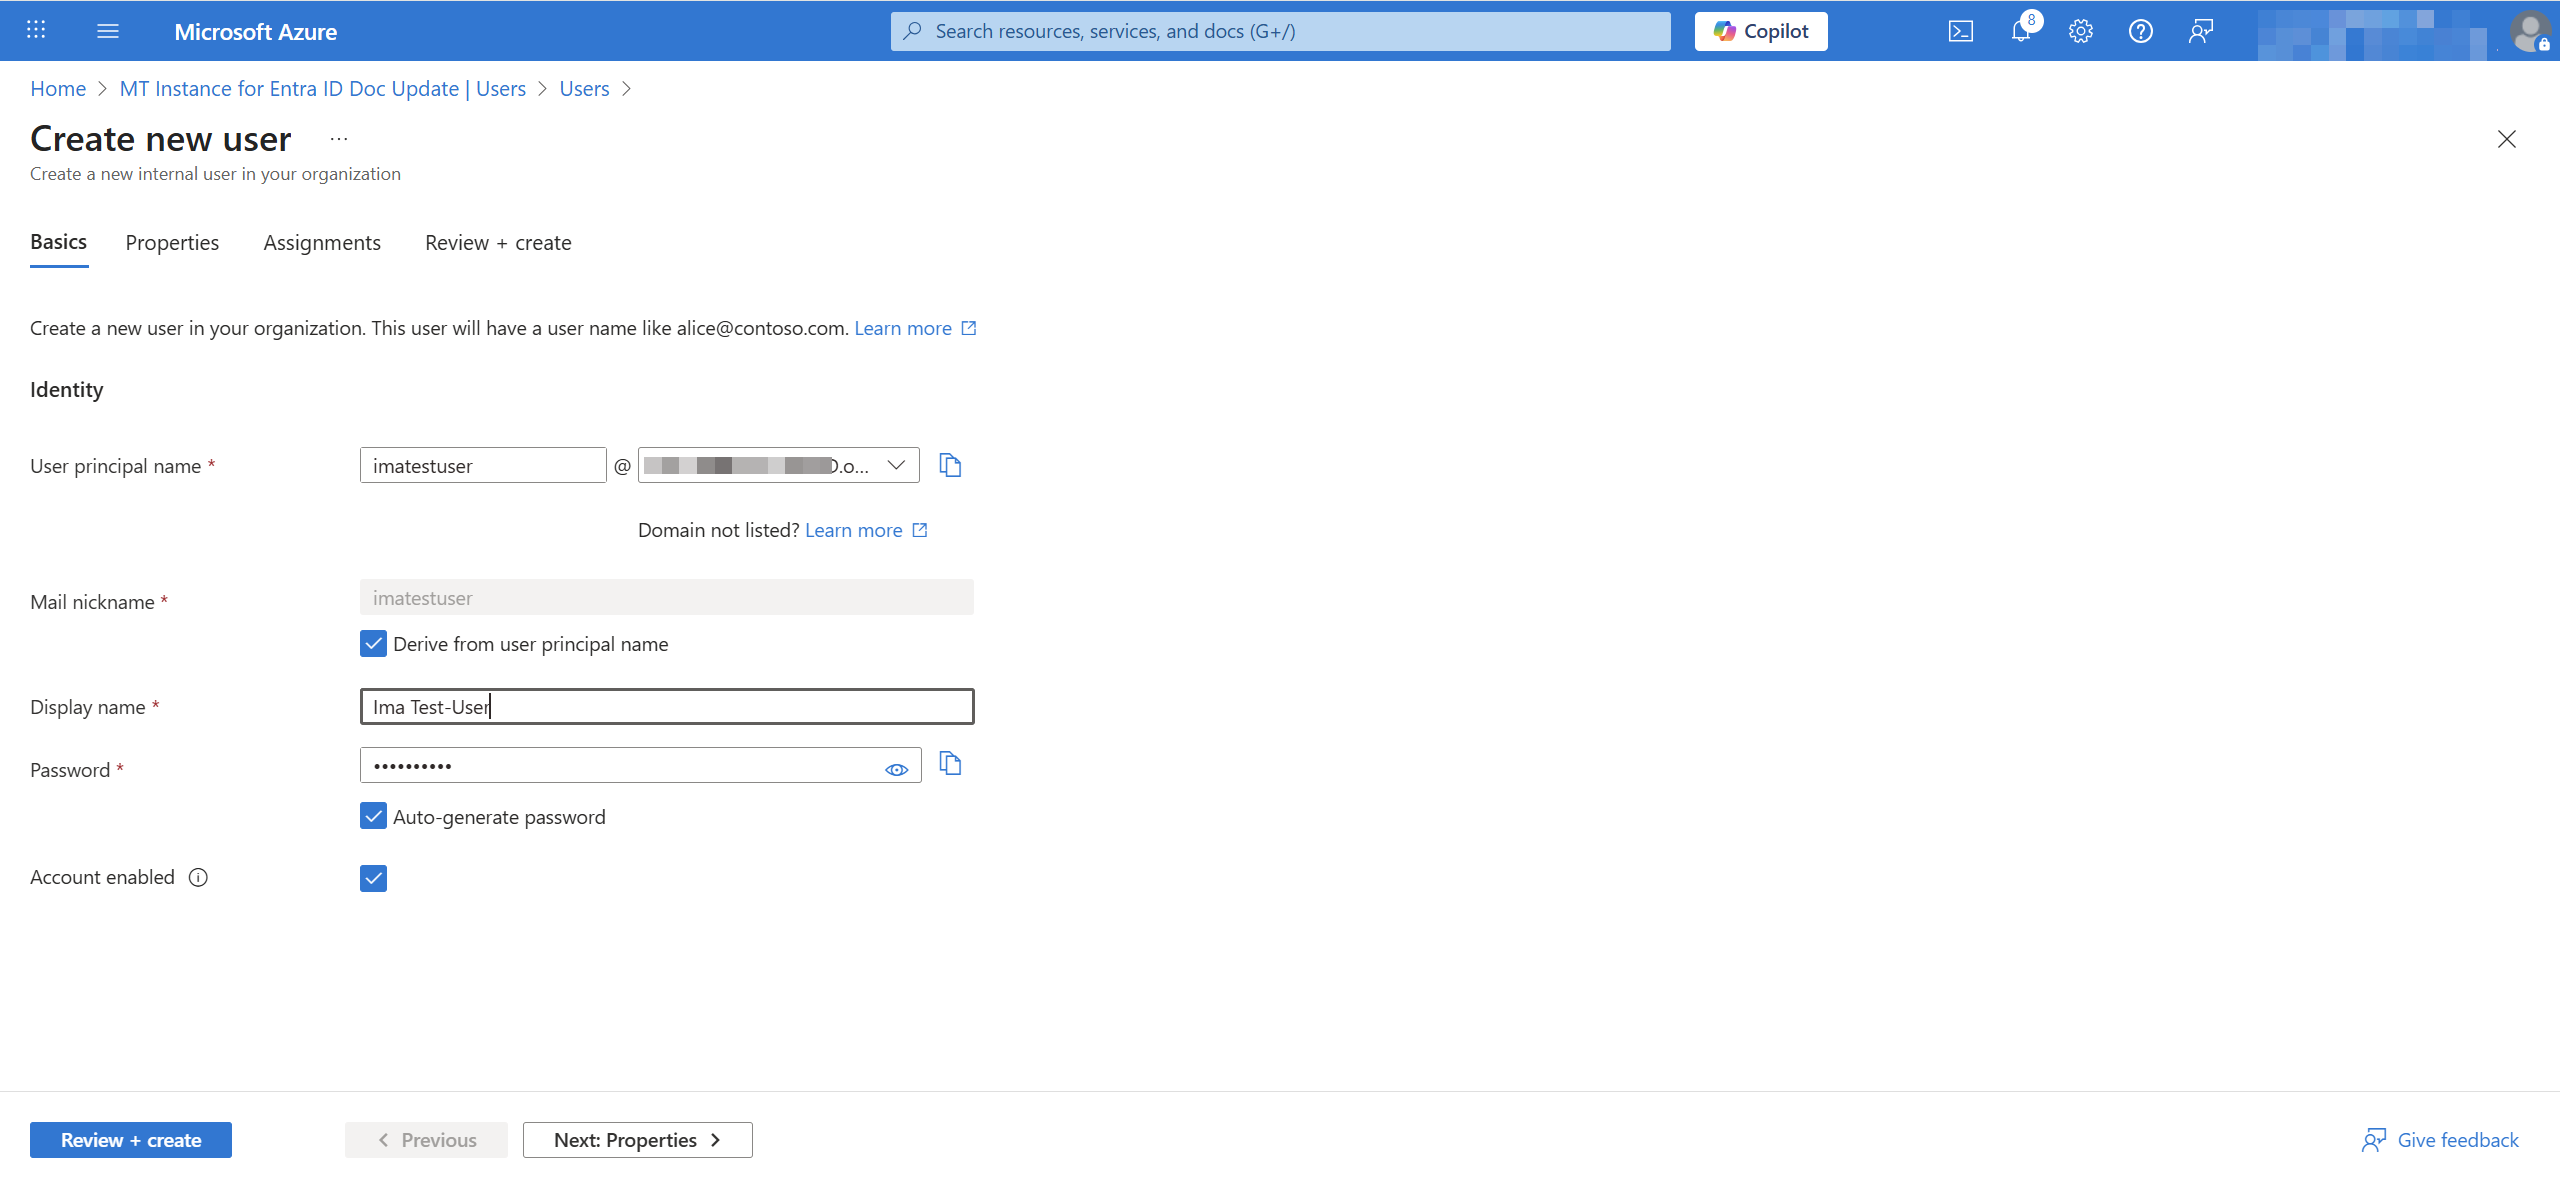
Click Review + create and then click Create.
Navigate to Enterprise applications and click on your application.
Click Users and groups in the left navigation pane and then click + Add user/group.
Search for the user or users you want to add, select the user or users, and click Select.
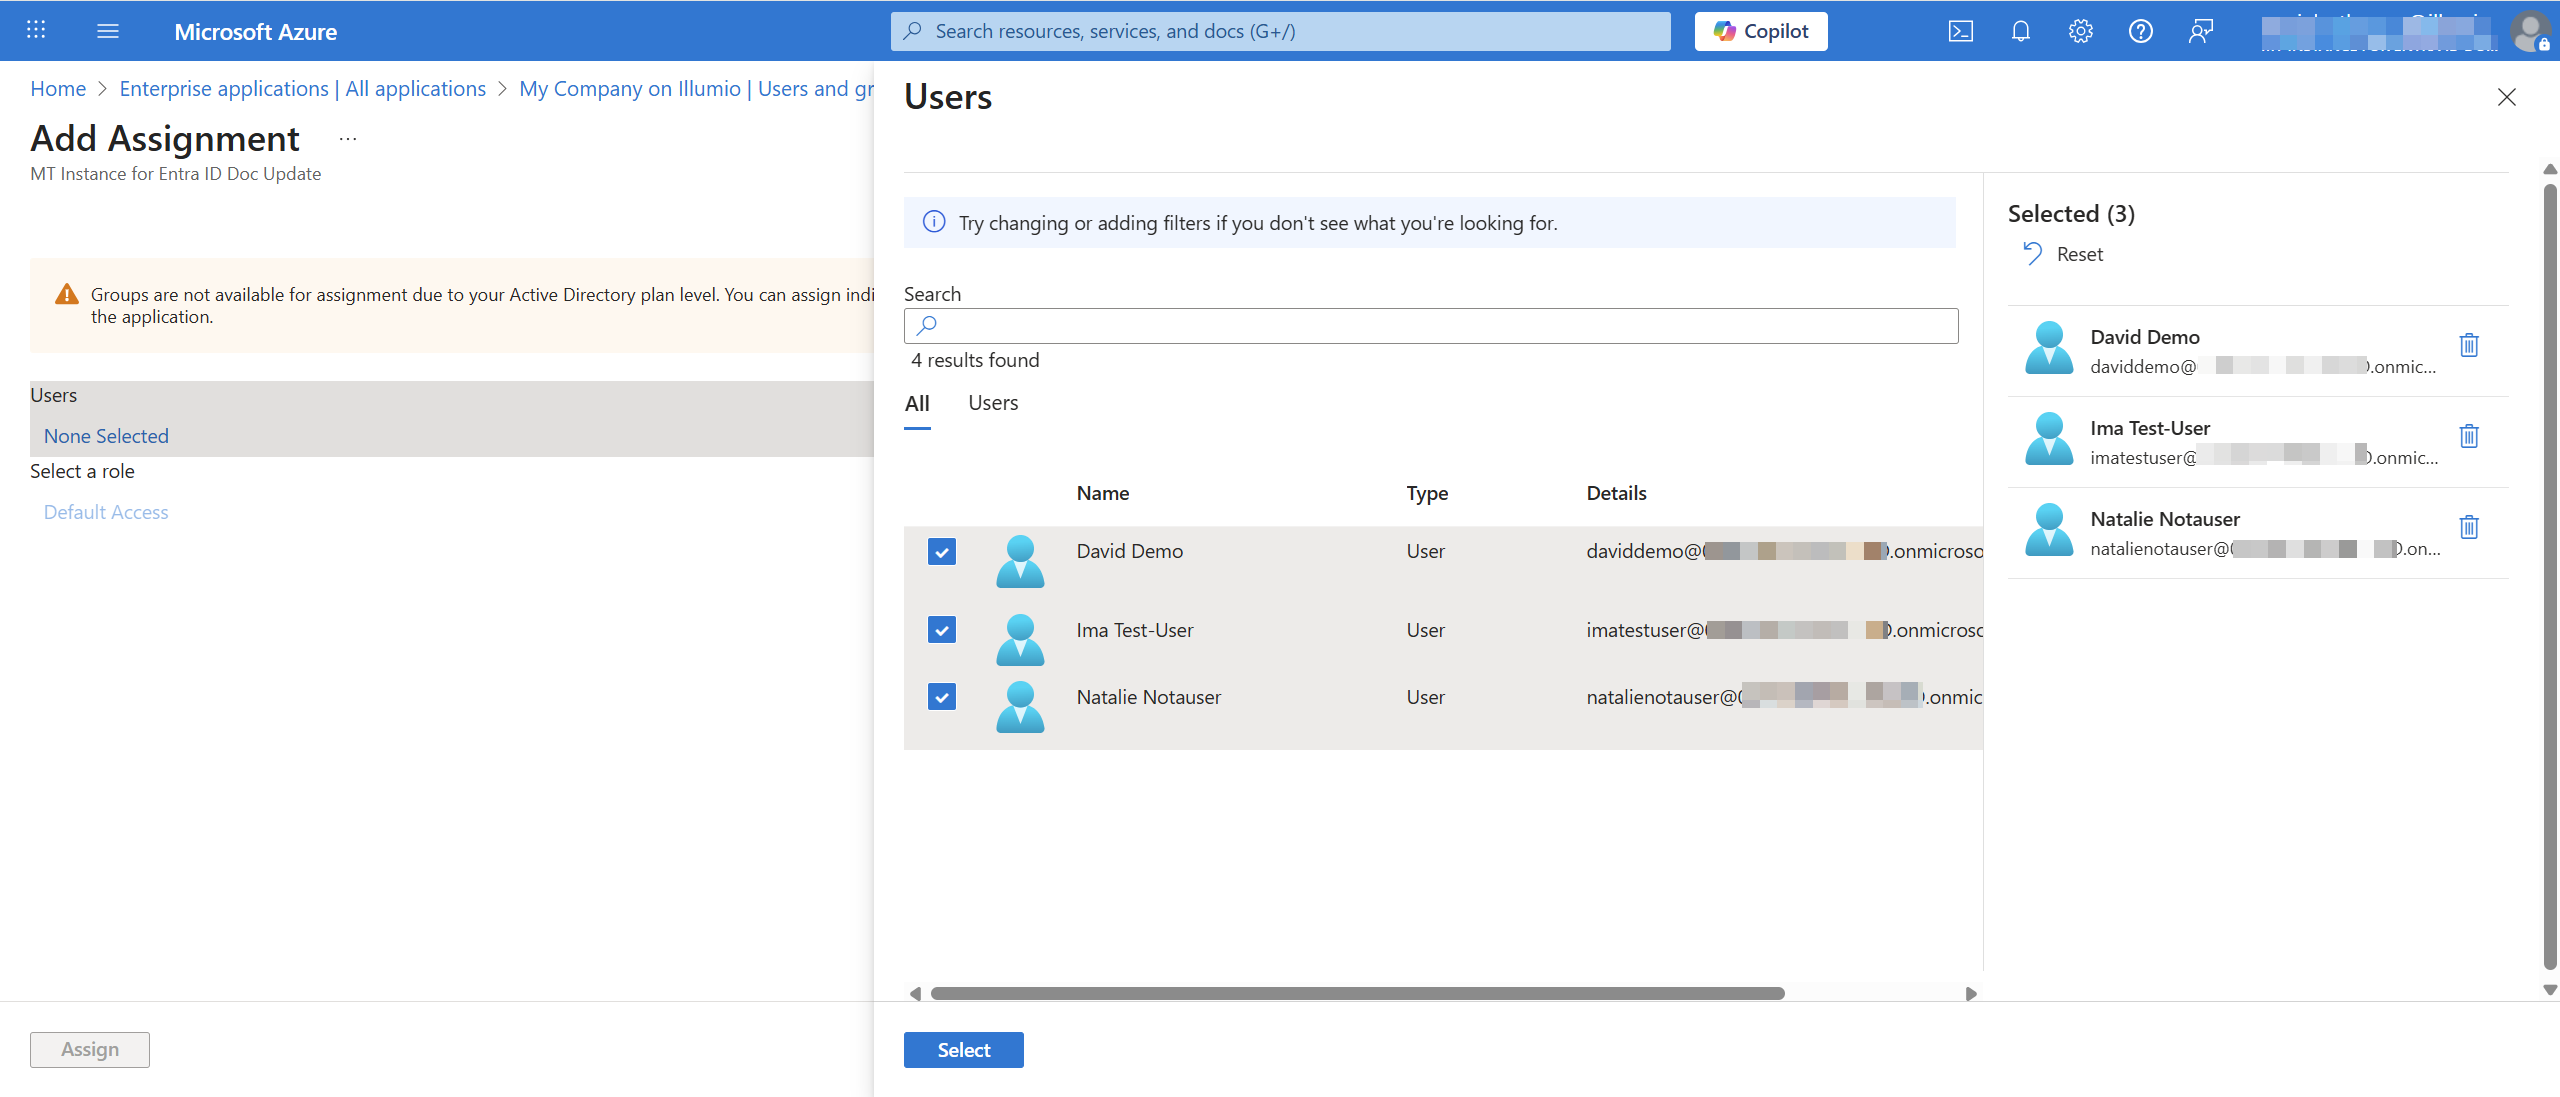
Click Assign to assign the user to the Illumio Console application.
Adding Roles and Groups to an Entra ID Application
Use the following procedure to create a role for your Entra ID application that maps to a user role in Illumio Console.
Log in to the Entra ID (Azure) account for your Enterprise application.
From Home on the left navigation pane, go to the application page of your enterprise application for Illumio Console.
Under Manage, click App roles.
On the App roles page, click the Create app role link (near the plus sign).
On the Create app role pane, do the following:
Enter a name in the Display name field.
For Allowed member types, select Users/Groups
Make a note of the information in the Value field, because you will enter this value as the Claim value when you add an external group in Illumio Console,
Enter a description in the Description field.
Check the Do you want to enable this app role? check box to enable the app role.
Adding and Configuring an External Group in Entra ID
Within Entra ID, navigate to Groups and click New Group.
Enter the group name and add owners and members that you want to include in the group.
Navigate to the Application page of your OIDC app. In the left pane, select Manage and then select App Roles.
Add a display name, select the users and groups, add a description, and add a value. The value will appear in the JSON web token.
Enable the app role.
Within your OIDC app, navigate to the Enterprise Application page and select Users and Groups from the left pane.
Click Add user/group and search for your group name.
Click Select a role. You will see the App Role that you created previously. Select the role and add the assignment to the Group.
After you add the assignment to the group, it should display in the grid. Adding the group means that the users in the group will inherit access to the OIDC application.
From the left pane, select Single sign-on.
Click the edit icon in the Attributes & Groups pane and add a new claim.
In the Name field, enter groupNames.
Set the source attribute value to user.assignedroles.
Set the type to JWT (JSON web token).
Adding a Groups Claim to Entra ID
Within Entra ID, click Manage in the left navigation pane and then click Single sign-on.
In the Attributes & Claims section, click Edit.
Click + Add new claim, and add a new claim with the following values:
In the Name field, enter groupNames.
For the Source option, select Attribute.
Select user.assignedroles from the Source attribute drop-down list.
Important
This value must match exactly.
Set the Type to JSON Web Token.
Adding Permissions to an External Group
Log in to the Entra ID (Azure) account for your Enterprise application.
Click Security > Permissions in the left navigation pane.
At the Permissions page, click Grant admin consent for <your_ilo_org>, where <your_ilo_org> is the name of your Illumio Console organization.
At the sign in prompt, enter your login credentials.
At the Permissions page, click the Application registration link.
At the API permissions page, under the Configured permissions heading you should see a green checkmark next to "Grant admin consent for <your_ilo_org>," which confirms the admin consent was activated.
Adding External Groups in Illumio Console
Within Illumio Console, navigate to Access, select the External Groups tab, and click Add.
Fill out the following fields:
In the Name field, enter the name of the external group. This name must exactly match the group name that you entered in Entra ID.
In the Claim field, enter the value that matches the groupNames attribute set in the IdP.
Select a role from the Roles drop-down list and click Save.