Onboarding Illumio Insights from Azure Marketplace
Here's a summary of your onboarding journey from start to finish.
Onboarding Illumio Insights
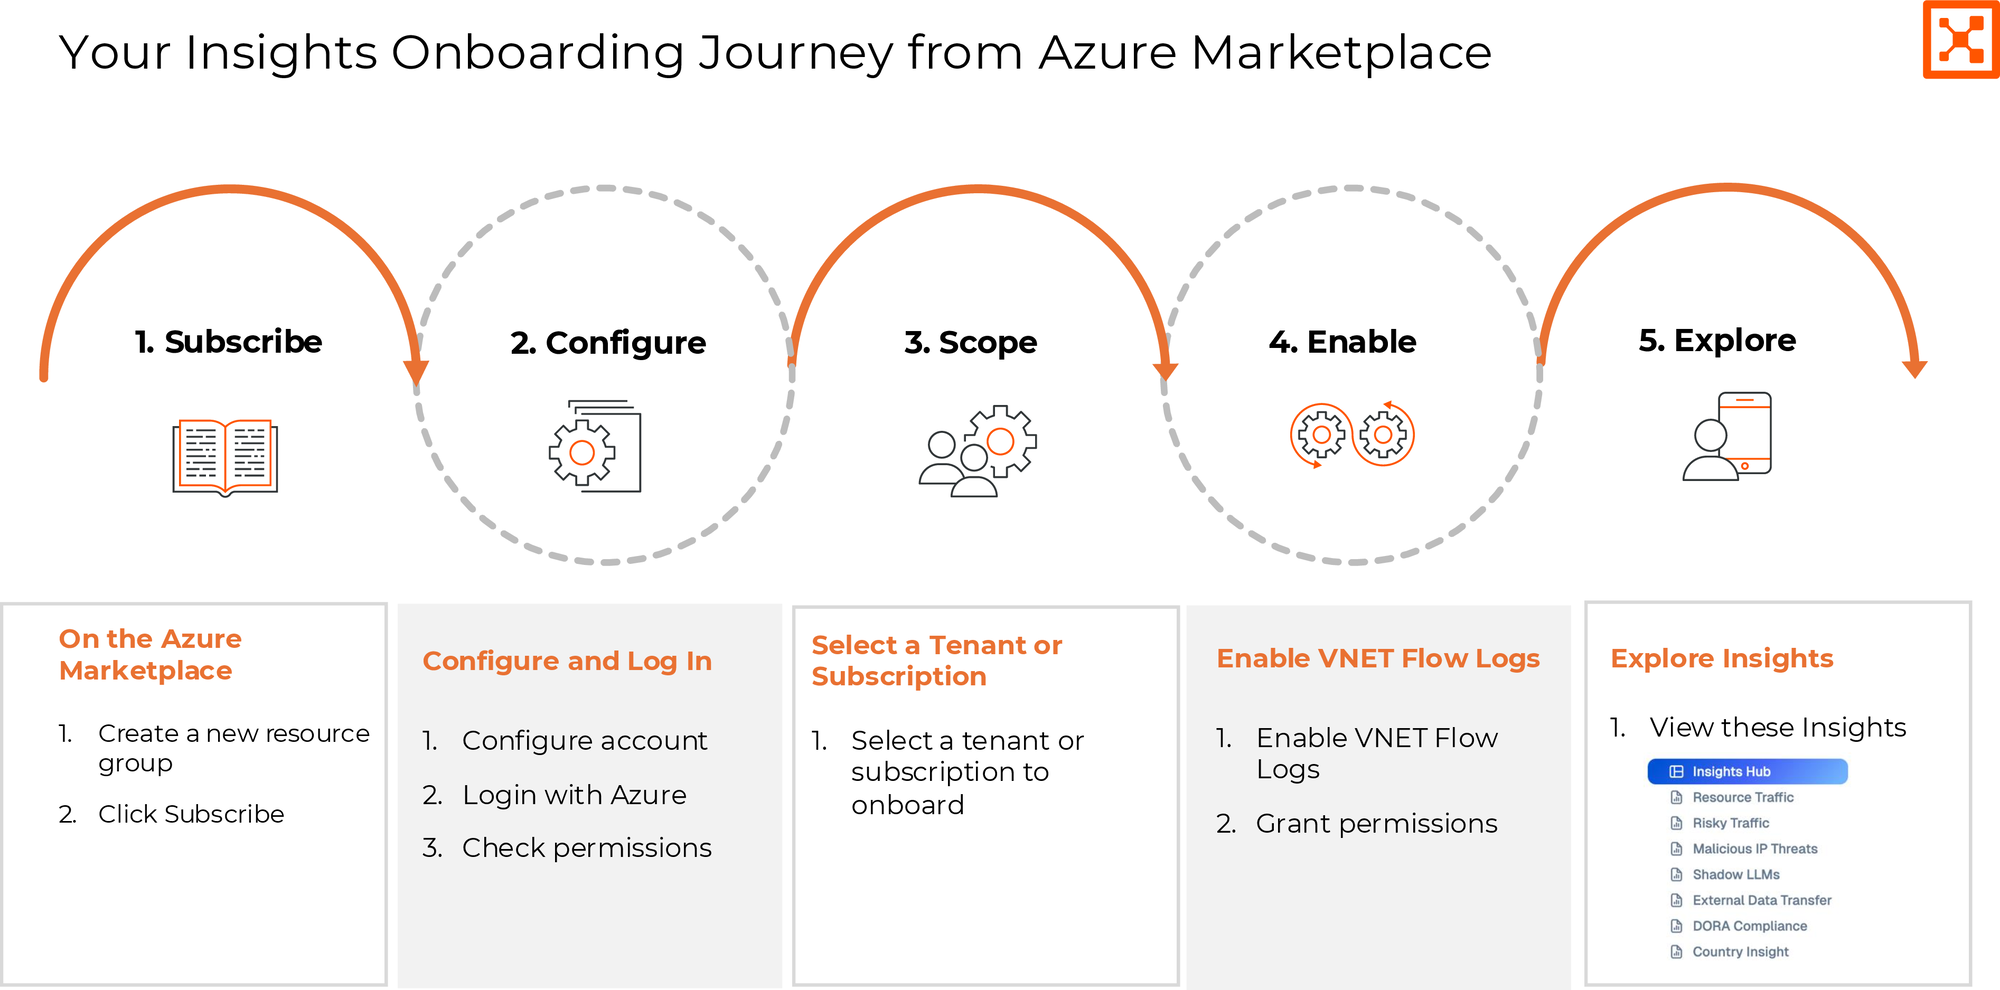
Step 1: Subscribe on Azure Marketplace | Details |
|---|---|
 |
|
Step 2: Configure Your Account | Details | ||||||||||||||||||
|---|---|---|---|---|---|---|---|---|---|---|---|---|---|---|---|---|---|---|---|
 |
|
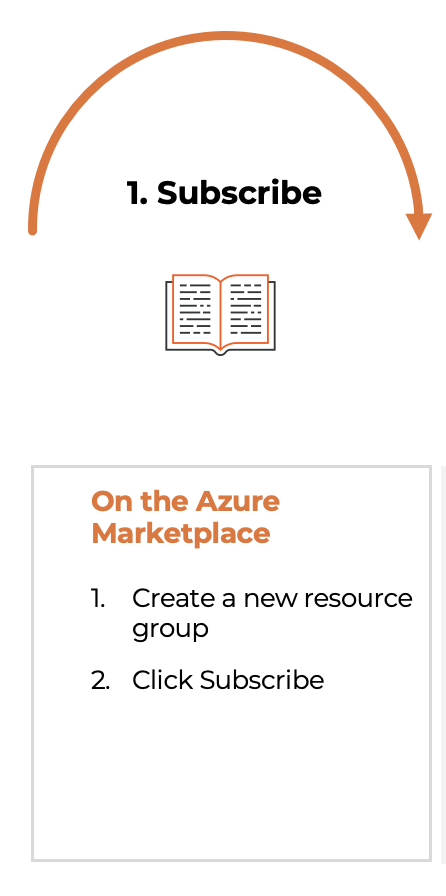
Step 3: Scope a Tenant or Subscription | Details |
|---|---|
 |
|
Step 4: Enable VNET Flow Logs | Details | ||||||||||||
|---|---|---|---|---|---|---|---|---|---|---|---|---|---|
 |
This table describes the roles that will be created for your Azure tenant when you grant read and write permissions to Illumio Console:
For more information about permissions, see Permissions for Azure Cloud. |
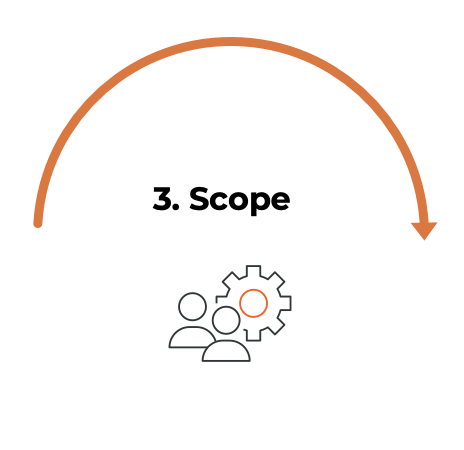
Step 5: Explore Insights | Details |
|---|---|
 |
|
Invite Users
After you log into Illumio Console, add your administrator so that they can onboard Illumio Insights.
To invite your admin or other users to use Illumio Insights, navigate to Users and click Add.
Enter the user's details.
The user will automatically receive an email from Illumio to onboard to Illumio Insights.
Follow the steps listed in Easy Onboarding, next.
Easy Onboarding from Illumio Console when using Azure Marketplace
If you skipped any part of the onboarding process before you logged into Illumio Console from Azure Marketplace or if you want to onboard additional subscriptions or tenants, follow these steps.
Navigate to the Onboarding page.
Click Add Azure.
Select the Easy Onboarding option, a guided setup with automated processes.
Follow the steps in Onboarding Illumio Insights from Azure Marketplace.
Note
While you can onboard multiple tenants, you can do so only one tenant at a time. You must configure your default tenant in Azure. See Configure your Azure tenant.