Generated reports
Create, view, and manage generated reports in Illumio Segmentation for the Cloud .
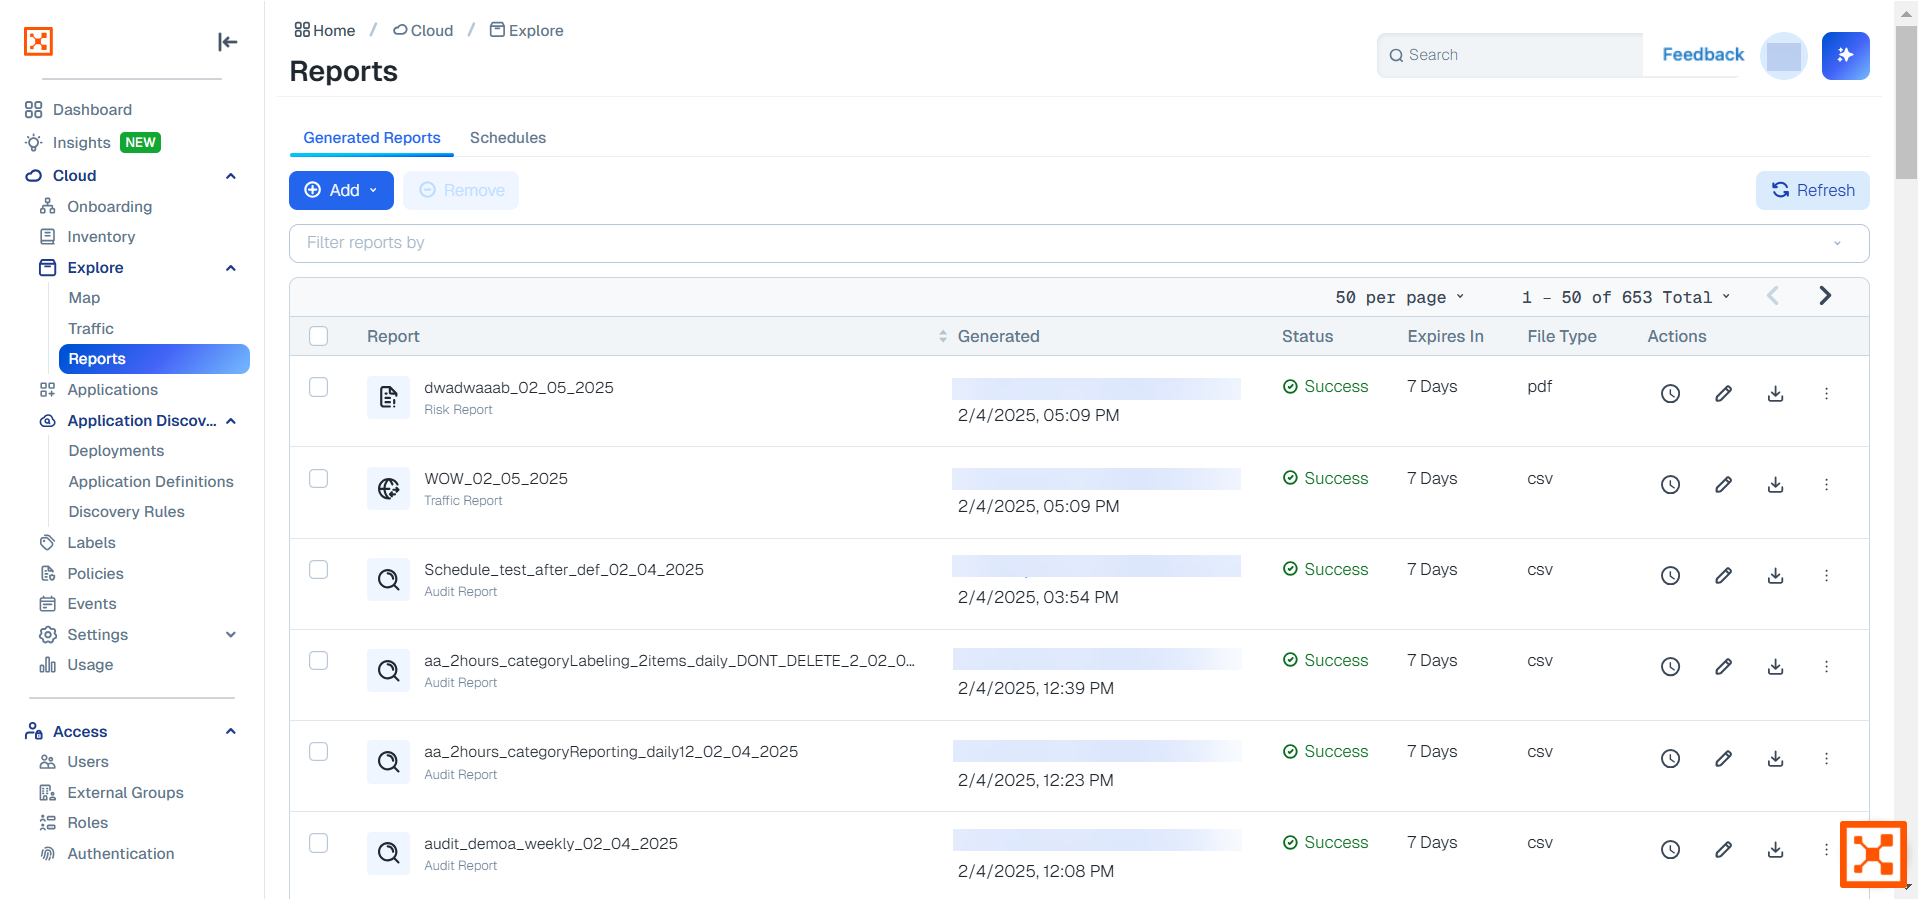
The Generated Reports page lets you view all the reports generated in Illumio Segmentation for the Cloud, including ad-hoc reports, scheduled reports and report exports from across the product.
Use reports
Use these guidelines when you want to download or remove reports:
Click Download in the Action column to access your reports. The reports are generated asynchronously. You are prompted when the report creation has completed.
Select reports and click Remove to delete them. A confirmation dialog displays, asking if you wish to proceed.
Add reports
Illumio Segmentation for the Cloud supports generation of the following reports from the Generated Reports page:
Audit: This is generated from the Events page Audit Events tab. See Events.
System: This is generated from the Events page System Events tab. See Events.
Traffic: This is generated from the Traffic page. See Traffic.
Risk: This is a traffic risk report generated from Illumio Segmentation for the Cloud your traffic. See Risk Reports.
Inventory: This is generated from the Inventory page. See Inventory.
Usage: This is generated from the Usage page.
Application: This is generated from the Application page. See View and approve an application.
Application Definition: This is generated from the Application Definitions page. See Define an application individually and Define an application automatically.
Reports and schedules
You can run reports either once or at regular intervals.
Generate a Report

Click Add to select the type of report from the drop-down menu.
Enter a name (without spaces), select the format, and specify the parameters.
Audit
Configuration
Time range: A variety of ranges, including custom
Filters: Cloud, User, Account ID, Status, Category, Event Type
Export Format: .JSON or .CSV
Traffic
Configuration
Time range: A variety of ranges, including custom
Filters: Source/Destination, Category (Account ID, Account Name, Resource Name, etc.), and Operator (= and !=). See Search traffic.
Conditions: Match Any Condition (OR), and Match Any Condition (AND). See Search traffic.
Export Format: .JSON or .CSV
Risk
Configuration
Time range: A variety of ranges, including custom
Details to Include: Top Sources & Destinations, Top Conversations
Sort: Byte Count, Flow Count
Export Format: .PDF
System
Configuration
Time range: A variety of ranges, including custom
Filters: Cloud, Account ID, Status, Category, Event Type
Export Format: .JSON or .CSV
Inventory
Export Format: .JSON or .CSV
Filters: Cloud, Account, IP Address, Region, Resource Type, Resource Group, Resource Name, Resource State, VPC/VNET ID, Subnet ID, Cloud Tags, Labels, and Categories
Usage
Export Format: .CSV
Time range: A variety of ranges, including custom
Application
Export Format: .JSON or .CSV
Filters: Name, Deployments, and Cloud Accounts
Application Definition
Export Format: .JSON or .CSV
Filters: Application Label, Deployments, Associated Labels, Approval Status, Source
All report types
Retention duration: (seven days at time of writing)
Scheduling: See Create a report schedule on this page.
Select your time range.
Click Save.
Create a report schedule
Click Add to select the type of report from the drop-down menu.
Enter a name (without spaces) , select the format, and specify the parameters as described in Generate a report.
Click the Scheduling Section toggle to the on position if you want to schedule a report.
Select your recurrence and time range.
Note
If you select a custom time range for a scheduled report, you will generate an identical report each time, effectively duplicating your reports. This is because the custom time range is always fixed. For this reason, use only the non-custom time ranges ("last X days") when creating a report schedule. Use the custom time range for generating non-scheduled reports only.
Click Save.
Generate ad hoc reports from your schedules
Go to the Schedules tab of the Reports page and find your Schedule.
Click the Generate Report Now icon in the Actions column.
Go to the Generated Reports page, find your newly generated ad-hoc scheduled report, and click the Download icon. Click Download.
Edit schedules
Click the pencil icon for the schedule you want to edit.
Make your changes and click Save.
Note
You cannot edit the schedule for an Insights report.
Enable and disable schedules
Within the Schedules tab, select the row for the schedule and click Enable or Disable. The Status column reflects whether a schedule is enabled or disabled.